Have a look at the wikipedia articles for the jointer here and the planer here.
So for the purposes of this review I shall refer to the machine as a planer/thicknesser.
WARNING! THIS IS A LONG REVIEW so click the read more button.
Arrival
The machine arrived early January and is one of the last of the "White" series of AW106PT2 machines and I got it considerably cheaper than the "newer" Trade Series. In fact the only difference I can see is a different label on the outside and the specifications say the cutter head spins slightly faster. |
| You don't really want to see a picture of a packing case DO YOU??? Well here it is! |
 |
| The fence is still wrapped in plastic here |
 |
| The inner workings |
 |
| Now mobile but fence not fitted yet |
I had to clean a light layer of oil from the cast iron faces and built it using the comprehensive instructions.
Then I built a mobile base and, using the principles of the ancient Egyptians, moved the heavy cast iron structure from its pallet onto some temporary wooden blocks.
I positioned the mobile base and gently moved the machine onto it then removed the blocks. The machine then became fully mobile.
Quick Description
- The planer/thicknesser is a combination machine and comprises very heavy cast iron structures weighing 150kg. Each in-feed and out-feed table is 260mm (10 3/8" wide) and the combined length is 1090mm (43"). Not long in North American terms for a jointer but still more than adequate for my work needs.
- It has 3 resharpenable HSS cutters on the 80mm diameter head and the rotational speed is 3750 rpm
- There is a substantial cast iron fence that is fully adjustable for tilt.
- The machine can also be very quickly converted into a thicknesser and has a capacity of 250mm (10") wide x 180mm (7") deep timbers.
- There is a under/over 4" chip extraction port painted yellow in the photographs.
- There is a feed lever to actuate the feed rollers when thicknessing and this gives a maximum feed rate of 8m/min (dependant upon the actual cut depth)
- Cut depth is maximum of 3mm when thicknessing and 1.5mm when planing (jointing). There is also the rather confusing separate entry of "maximum depth of cut" of 2.5mm in the manual (No idea what that means!)
- Cutting width is 250mm (10") for the planer (jointer)
- A very quiet 1500W 2HP 230 volt induction motor is fitted - thank you Axminster!
- It comes with a blade setting jig and a number of minor tools.
Positioning, checking and planer controls
 |
| In-feed adjustment screw |
Using a straight edge I found that the out-feed table was flat and level with the top of the cutter head. The in-feed table was also coplanar with the out-feed table.
I have never had a machine straight from the factory that has not needed any setting up before and this was a bit of a revelation.
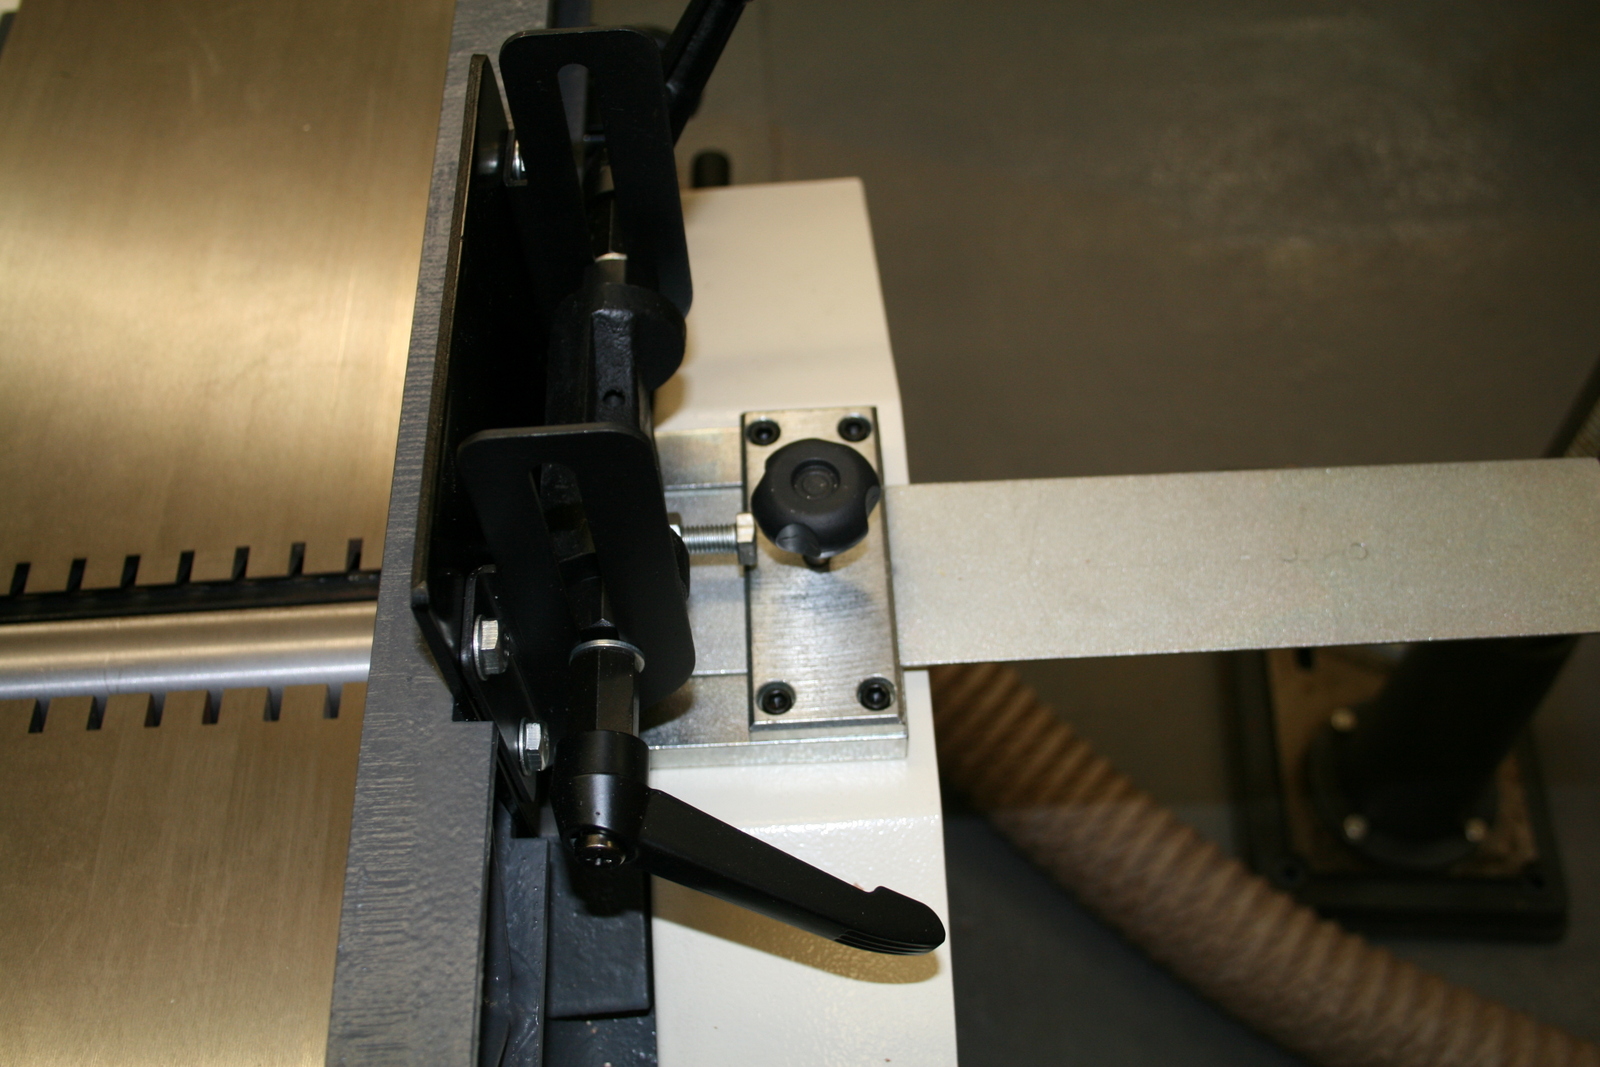
The fence, also cast iron, was easy to put in place. I then set it square to the faces of the tables using a set of engineering squares that I reserve just for machinery set-ups. It has a stop screw that you can lock in place once you have it at 90 degrees.
 |
| In-feed cut depth scale |
There is also a scale that shows the depth of cut from 0 to 5 mm (even though, as stated earlier, that is a maximum of 2.5mm).
You then set the fence to where you want it and at which ever angle you desire (most people leaving it at 90 degrees).
Using the European style cutter guard you can chose whether to have it slide to expose some of the blade or just simply pass the stock under the guard and not expose the cutter at all. It's up to you.
Controls are just stop and start on the front of the casing linked to the main NVR contactor.
Conversion to thicknessing mode.
This takes less than 20 seconds and comprises the following process:- Remove the fence and store somewhere (not good as it is heavy)
- Fold back the European style cutter guard
- Undo the 1/2 turn clamp bolt on the out-feed table side
- Pivot the out-feed table to open position
- Undo the 1/2 turn clamp bolt on the in-feed table side
- Pivot the in-feed table to open position
- Move the extract duct from under cutter to over cutter.
|Everything is interlocked both electrically and mechanically. You cannot start the machine until everything is in correct position - very good. You are then done set to thickness.
 |
| Fence release screw |
 |
| What am I supposed to do with this! |
 |
| Out-feed 1/2 turn location bolt |
 |
| Out-Feed table swung open |
 |
| Dust extraction shroud moved over the cutter head |
 |
| In-Feed table swung open |
Thicknessing controls
The controls for thicknessing duplicate the start/stop switches, seen on the side of the machine, and there is also a twist to release emergency stop button.The aforementioned feed control lever is also in a suitable position. There is also a height control wheel that moves the thicknessing platen up and down. I had a look inside and found that there is a acme screw connected to a large centralized vertical guide connected to the wheel via a gear box.
The platen can be locked in position by the substantial Bristol lever.
 |
| View of thicknessing controls |
In use
This is a very substantial piece of equipment and as such I had high expectations. I was not disappointed.
When in planing (jointing mode) it easily surfaced any hardwood I showed it. I tried oak at 2.5mm cut depth and it came out perfectly flat with no tear out. There was no hint of the motor labouring during the process.
I tried a little ebony at 0.5mm depth - again no chipping and a perfectly acceptable smooth surface.
When jointing the edges I did have a little difficulty in setting the fence perfectly square. However once I had it dialed in and locked off jointing edges was a breeze.
Turning to thicknessing mode was just as good. I couldn't see or feel any snipe on any of the boards I put through it. Again it handled every timber I put through it and there was little if any tear out on anything.
Very impressive. Only time will tell if it remains this way but considering that this machine had been shipped from a Chinese factory to Axminster, then on the back of a truck up to my shop AND it didn't need any adjustment at all is testament to the fantastic design and manufacture of this machine.
Upgrades
 |
| Digital Thicknessing Display |
I can heartily recommend the upgrade of the digital thickness display. For very little outlay you can attach this device to the thicknessing wheel shaft and have it display the thickness to the nearest 10th of a mm. That is 4 thousands of an inch. I was a little dubious of this at first but using my engineering background and knowledge about backlash I made a few test cuts.
Always set your thickness whilst winding it up. In other words if you want to set a thickness of 50mm approach it from the 60mm direction. Then you will make sure that the backlash has been taken up. The digital display has a drive that connects to the shaft of the thicknessing wheel and counts the number of rotations.
I was able to put stock through and consistently get it flat and parallel within about .2 of a mm. Not quite the 4 thou of the display but we are talking wood work here not high precision engineering!
Fitting the digital display
The only problem I had with it was there were no instructions on how to fit it. Not a major problem as I could see where it needed to go.
You have to remove the large rear cover and reach inside to the nyloc nuts securing the bolts holding the shaft bearing bracket in place and undo them. This is not very easy to do as a one person operation and combinations of socket wrench with extensions on the inside combined with a spanner on the outside will release the nuts and bolts.
The kit comes with allen screws and a mounting bracket. Again you have to struggle, this time with an allen key on the outside and the socket wrench on the inside, to get everything in place. Just make sure you get this bracket around the right way as I didn't and the display ended upside down! I had to go through the entire process again to get it the right way around.
The display has a pin on the back that pushes into a location socket on the bracket. Then you make a few test cuts, measure the thickness of what you have cut and then rotate the outer shaft until the measurements and readout coincide.
Then finally lock the outer shaft to the main shaft with the set screws. Simple as that. Just make sure you allocate about 2 hours to fit it!
It is a well worth addition to the machine and will result in quicker throughput.
I don't know if a helical head is available for the machine but the normal straight cutters are more than fine.
Conclusion
All in all this is a fantastic machine for thicknessing and planing (Planing and jointing) and is terrific value for money even in its "new" format. This machine is designed in the UK and manufactured in China.
The price I paid was £569.95 GBP + delivery ($900 US). The price of the "new" format machine is currently (Jan 2013) at £798.48 GBP ($1,262 US) with delivery of £49 GBP
Current price (End of Nov 2014) is £849.95 GBP $1335.94 US
Current price (End of Nov 2014) is £849.95 GBP $1335.94 US
Great review. I'm about to buy one used for £350 but it's missing the fence assembly (part nr.97) and the overhand guard assy (part nr. 98), but as the machine is 20 years old and only cost £570 new I will have to aim for £250 !!
ReplyDelete