My wife Elly and I recently went to see Pat Metheny and his Unity Band live in concert at Salford's Lowry Theatre. We were lucky enough to get almost front row tickets but were situated 6 feet away from Pat as the position of the seats were right in front of him. I had been following him since 1977 and I have always been a big fan.
The concert started with him playing a derivative of the guitar shown below.
The one he was playing only had two necks but still had 4 separate runs of strings making up 42 strings in total. Elly and I thought he would just strum it and call it done. How wrong we were. He played every part of the instrument including the wood and it blew every-bodies mind in the theatre.
I did a little research and found out that it was made by Linda Manzer a luthier based in Toronto see here. It gives me food for thought (not that I would be able to play it like Pat does) but I could have a go at making something similar.
Hmm a project maybe for the future.
Showing posts with label Musical Instrument. Show all posts
Wednesday, 18 June 2014
Tuesday, 25 March 2014
Violin Repair Job - Part 3 Completion
| The bridge in position |
After removing the sandpaper I oiled the fingerboard with some lemon oil. The finish on the rest of the body just needed a polish over with a damp cloth and some proprietary violin polish. I made sure it wasn't a polish containing silicones as the finish is French polish on the violin. It came up great considering it's age and the condition it came to me in.
| Using the coils of the string to force the tapered tuners into the tapered holes. |
| The finished violin |
Saturday, 18 January 2014
Telecaster Style Guitar Build - Part 3 - Electronics, final assembly and completion
Friday, 10 January 2014
Telecaster Style Guitar Build - Part 2
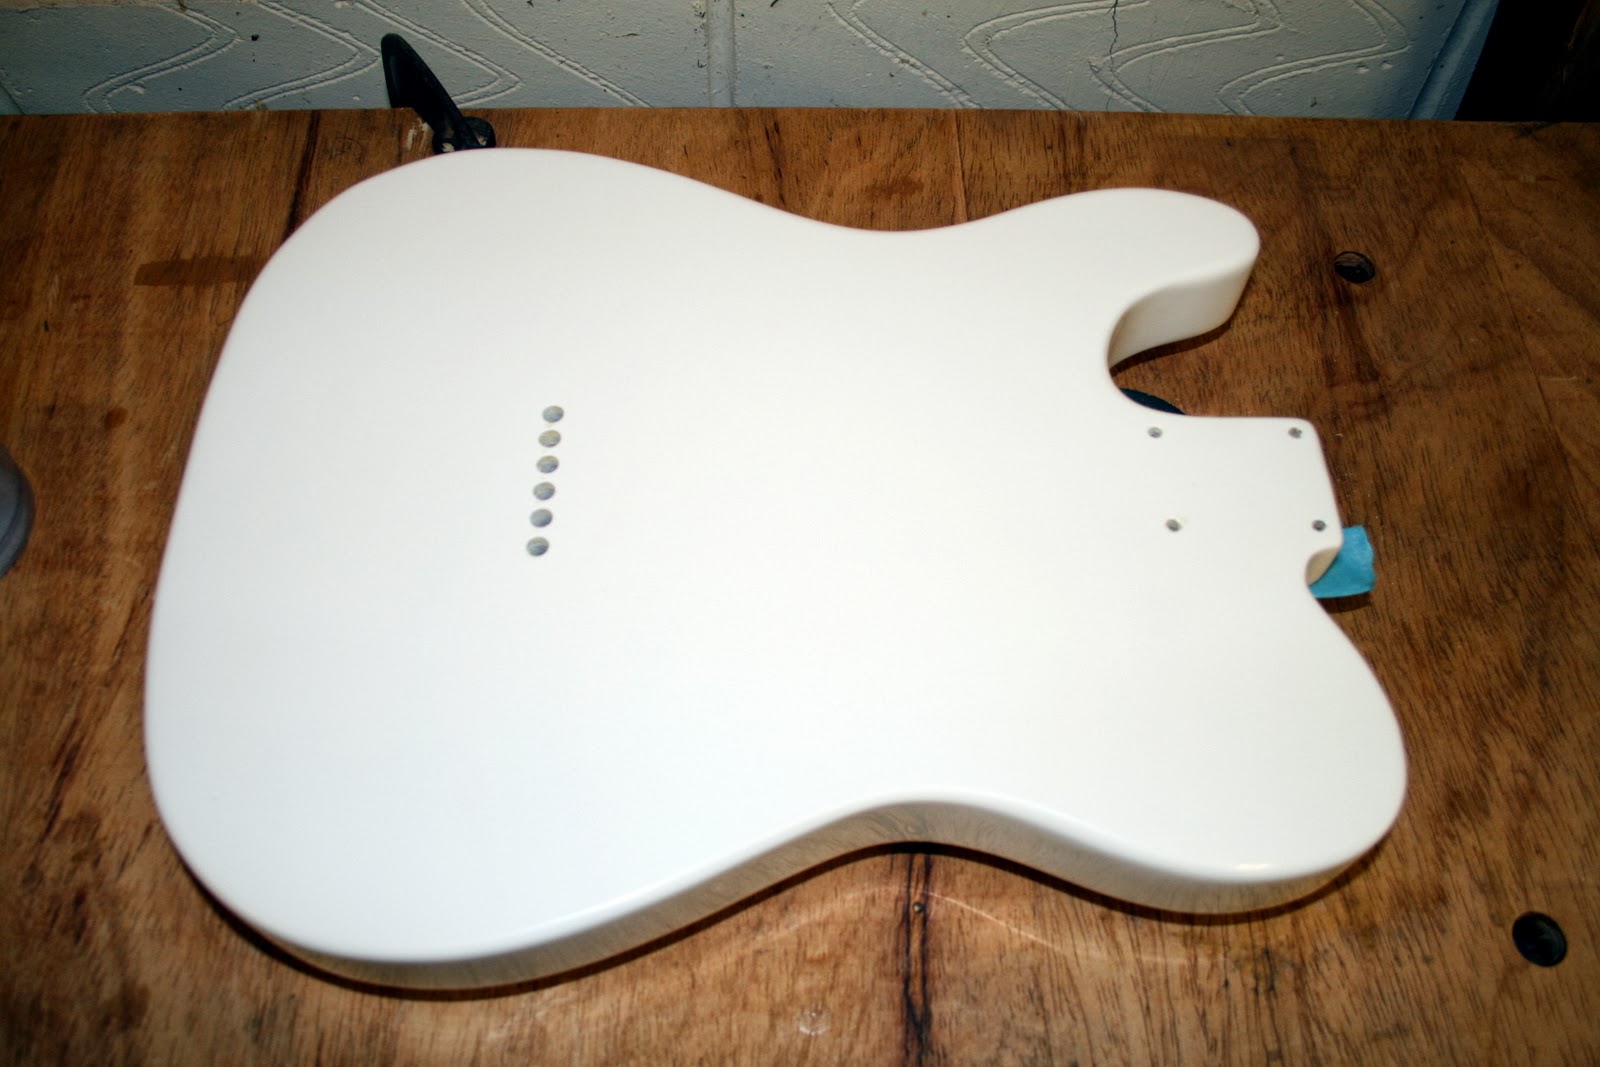
The swamp ash body is now complete using the routing template I showed in the last post. I have painted it white with a Beckers Waterborne pigmented lacquer after first sealing and sanding smooth . The finish off the gun is very good but I'm going to leave it a few days to cure before I rub it out.
In between a repair job for a violin I've been busy making the neck. I have put a faux skunk stripe in the back and routed the double action truss-rod channel from the front.
| Front with some blue tape masking the neck pocket. Did I ever say I love blue tape? |
| Rear. No belly comfort curves on this bad boy! |
In between a repair job for a violin I've been busy making the neck. I have put a faux skunk stripe in the back and routed the double action truss-rod channel from the front.
Thursday, 9 January 2014
Violin repair job - Part 1
One of my friends has asked me to have a look at his old violin with a view to repairing it. It was his mothers and the last time he remembers it being used was in the late 1950s. In all that time it has not had any strings on it and has lost various components.
It appears to be one made in Germany or Bohemia in the early 1900s or late 1800s. It has a head scroll in the shape of a lion or large cats head. I identified the violin type as being a European Tyrolean Lion Scroll violin.
See this forum entry http://www.fiddlehangout.com/archive/26910
It appears to be one made in Germany or Bohemia in the early 1900s or late 1800s. It has a head scroll in the shape of a lion or large cats head. I identified the violin type as being a European Tyrolean Lion Scroll violin.
See this forum entry http://www.fiddlehangout.com/archive/26910
Body
The body seems to be primarily made from maple and the top seems to be spruce.There is no great figure to the wood that was used in its construction. The purfling around the edge of the top plate is a single channel. The top plate has become detached from the upper rib in the area where it would be held under the chin. I wonder if sweat has taken its toll and caused the glue to fail. This needs re-gluing and I have some hide glue to do the repair.| Tyrolean Lion Scroll Violin |
Subscribe to:
Posts (Atom)