Thursday, 31 October 2013

Shower Room Vanity Unit - Part 8 - The base and final assembly

The base is made from 11mm cabinet quality plywood with two glued on oak faced 6mm plywood panels on the upper surface. I separated the oak panels at the point where the internal divider is so I didn't need to route out a dado. This worked out really well but does need accurate marking out from the carcase to ensure you get it in the right position.
The base panel was cut to size and cut-outs made where the legs protrude into the cabinet.

The panel was then then laminated with the oak ply panels and left overnight to cure.
Next day I was able to cut off the excess and fit it into the cabinet. The base is secured in place with cleats screwed into place with stainless steel screws. I opted for this method just in case of water damage in the future. This is going into a wet-room after all and if the panel is removable it will make it easier to repair.

Base panel being "veneered"
Glad I had some large stage weights and
you can never have enough clamps!


Prefinishing

The base panel was pre-finished prior to assembly in a similar way to the door panels. I also pre-finished most of the carcase prior to inserting the base panel.

Cleats screwed into position

Close up of a cleat

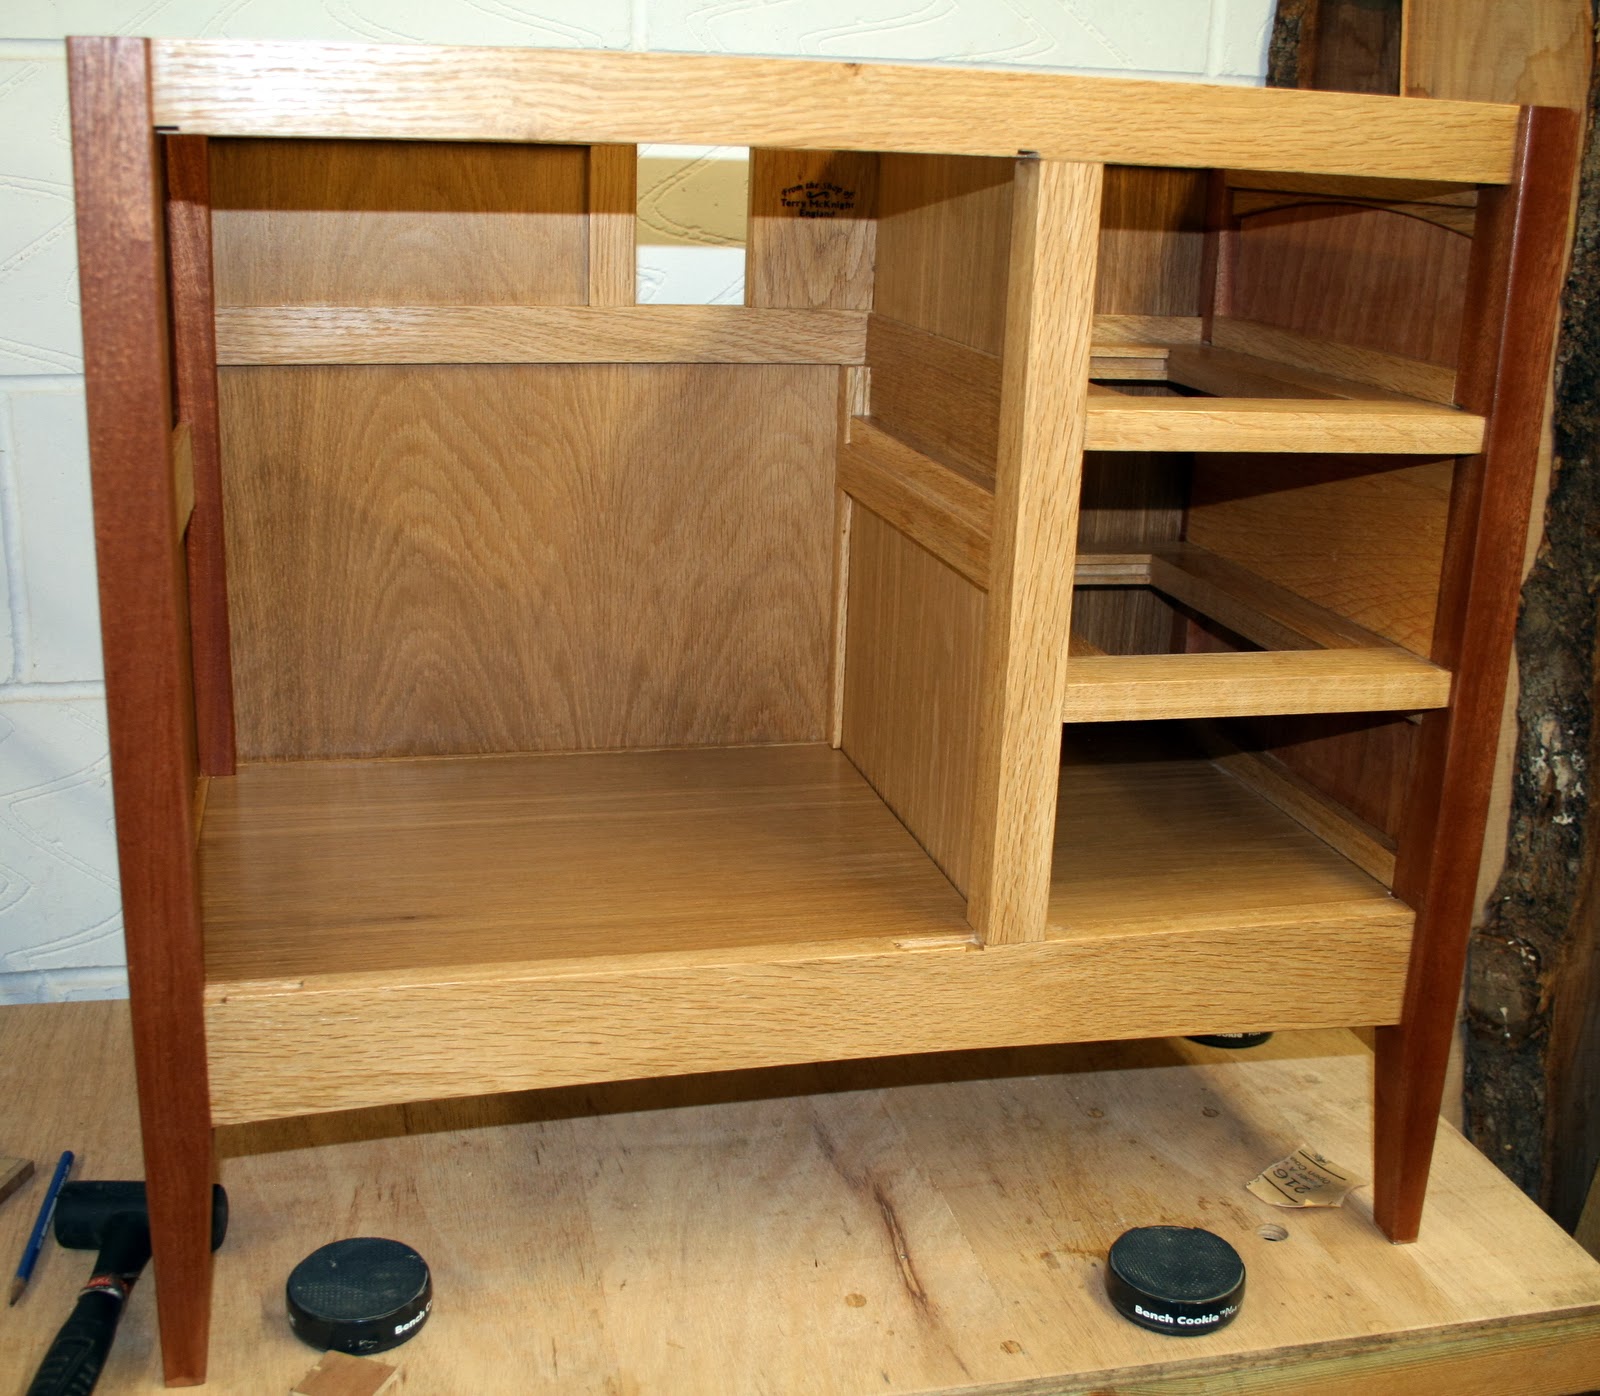
Fully assembled carcase


Thursday, 24 October 2013

Shower Room Vanity Unit - Part 7 - The Doors

I originally had designed the cabinet with a single door but found it may hit the adjacent central heating radiator when installed. So I changed to a two door arrangement.
The hinges were to be concealed so I chose brass Brusso L37 offset knife pivot hinges. These are expensive but really good quality.
I also had some nice spalted beech in stock. So this was used to produce some nice book-matched, raised panels for insetting into the oak frames.
Sketchup representation of the
raised panel doors.

Monday, 21 October 2013

Shower Room Vanity Unit - Part 6 - The Drawers

One of my favourite parts of wood working is cutting dovetails. I'm not going to do a tutorial on dovetailing as there are many on the internet. The cabinet has three drawers and I decided to cut blind dovetails on the front and through dovetails on the back of each drawer. This was 16 on each drawer. I broke out some cool jazz and set to making them.
Terry's dovetailing kit

I generally find a combination of the following tools make dovetailing a little easier.
  • Wheel marker gauge - a traditional one is just as good.
  • Engineers square
  • 0.5 mm mechanical pencil
  • Dovetail saw
  • Rule - I love the Incra Precision T-rule as shown in the picture. If you want one have a look here
  • LH and RH Skew chisels
  • 1/4" to 3/4" bench chisels - if you have a fish tail chisel so much better
  • Fret saw
  • Mallet - a brass one is a luxury but not essential
  • Good light source.
  • A good bench with bench dogs, a vice and a bench-hook
I don't bother with the fret saw any more and use my bandsaw to cut out the waste.

Good light is essential.
Here are the two Ikea worklights I recently got
on a recommendation from
Chris Schwarz


I like cutting blind dovetails
using my deep bench-hook.

Cutting a knife wall by undercutting
with a chisel

Another knife wall

Finished front, rear and sides.
Only another 8 more to do!


Friday, 18 October 2013

Shower Room Vanity Unit - Part 5 - The Web Frames

Web Frames in a cabinet play an important function. They add rigidity to the entire structure and they most importantly support the drawers. They also allow the drawers to pull out without tipping.
I decided to glue up the entire frame first of all and insert the webframes afterwards. This prevents any panic when glueing up and also ensures that the frame remains square.
Sketchup representation of the webframes
used on this cabinet.