Thursday, 23 July 2015

Bedside tables (nightstands) - Part 5 - Side subassembly glueup

Each one of the components comprising the side assembly were sanded to 220 grit as it would be impossible to do properly after a glue up. I found that planing the legs, even with a high bevel angle smoother, was difficult due to the grain changing direction often. Scraping and scraping was the better option.

After an initial dry clamping to ensure all components fitted properly and a sanity check the four side assemblies were glued up.
I used Titebond 2 Dark for this as sapele is similar to mahogany when finished and the dark glue line left by TB2 Dark is not that noticeable.

After being left overnight they emerged from the clamps and were flat and stable.

One of the side sub-assemblies after glue-up
Then any dried squeeze out was removed with a chisel and chisel plane.

Tuesday, 21 July 2015

Bedside tables (nightstands) - Part 4 - Completing the legs - a tablesaw tapering jig

The lower 120mm (4-3/4") inside sections of each of the legs were intended to be tapered to give the illusion of lightness to the whole piece. To do this I used my trusty old tablesaw leg tapering jig to clamp each leg in place whilst slightly angled relative to the blade.

Front view


Side View

Monday, 20 July 2015

Bedside tables (nightstands) - Part 3 - The aprons

When making any piece of furniture it is best to make as many sub-assemblies as you can to avoid the inevitable "glue up rush". This is when you are trying to glue as many components in as you can in the shortest time possible knowing that the glue is setting up and causing you to PANIC. This can sometimes result in you gluing items upside down, back to front or even inside out.

First thing to do was cut all the parts out of the sapele rough sawn boards. I use a hard point panel saw to separate the parts. I used to use a jigsaw when I saw Marc Spagnuolo doing it on a few of his TWW Guild builds. I found that the blade would not stay true and square so went back to the manual method I've been using for 20+ years.

So this table is designed like many other to have the sides glued up first. The sides comprise a deep apron at the top and two shelf support stretchers under the apron and close to the bottom.

Again these were milled from sapele boards, cut to length, jointed, planed and tenons cut. I like to make the mortises first (as seen in the previous post) and then cut the tenons to suit. It's far easier taking wood off with a should plane or rabbeting plane rather than trying to put it back on. The shoulders are cut on the table saw and the faces of the tenons are cut using a tenoning attachment again on the table saw.

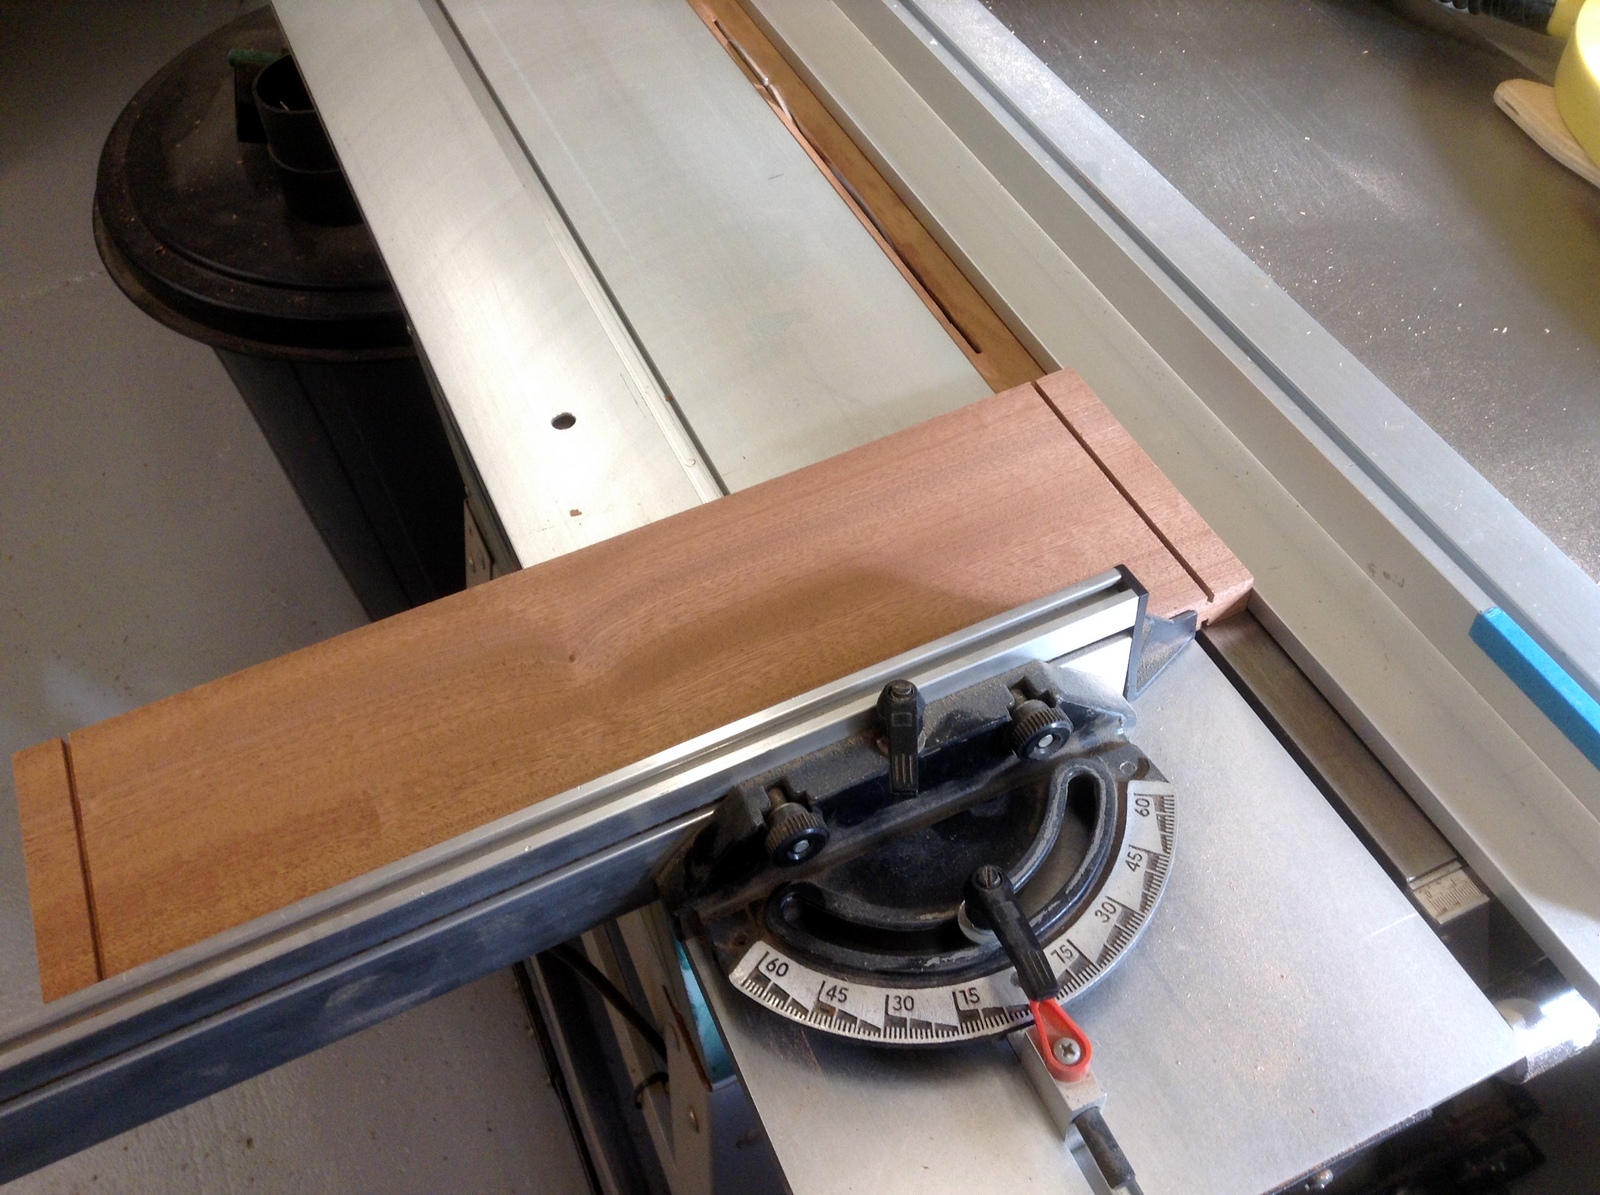
Cutting shoulders using the table saw
The riving knife can just be seen peeking above the
surface of the table. The sliding table makes
for accurate work as the miter gauge is clamped in place
by tee nuts in the tee slot.

Sunday, 19 July 2015

Bedside tables (nightstands) - Part 2 - The legs

I had a piece of 16/4 (4" or 100mm square) sapele that I had seen in a home centre a few years ago. It originally was a finished newel post for a staircase and had been left on a rack alone in the home centre. I thought I could make a few guitar necks from it and as it was much cheaper than raw material bought it.
The timber was very well seasoned and was very stable and true. I used the bandsaw to resaw it in half and then run it through the table saw to get 8 pieces.
Then the usual milling process of jointer and planer/thicknesser was done to get the finished sizes of 38mm (1-1/2") square. The legs were then squared off and cut to length on the table saw crosscut table.
I then choose the best arrangement for each leg to match up the grain structures.
8 legs in raw form