Thursday 19 March 2015

Wall mounted Plane and Tool Cabinet - Part 4 - Internal Door

The internal door was made simply by measuring the internal dimensions of the carcass and cutting the upright stiles to this dimension short by about 3/32" (2.5 mm). This gives more than adequate clearance for the door to clear the carcass. There isn't much danger of wood movement as both the door and the carcass are made from birch plywood.
The cross stretchers were cut to size. I had calculated that the swing of the relatively deep door (5") would miss the carcass if the closed gap at the non hinge side was about 9/16" for the trailing edge to clear.
I gave the door 7/8" gap.

Then door was simply constructed by gluing and screwing the butt joints. The ply panel was also glued and screwed into place. I decided to change the design slightly and positioned the ply panel 1" in from what would become the front. This way I could use both sides of the door to hand items.
The screw head holes were plugged with more walnut plugs. Finally both sides of the exposed ply ends were covered with walnut bindings.

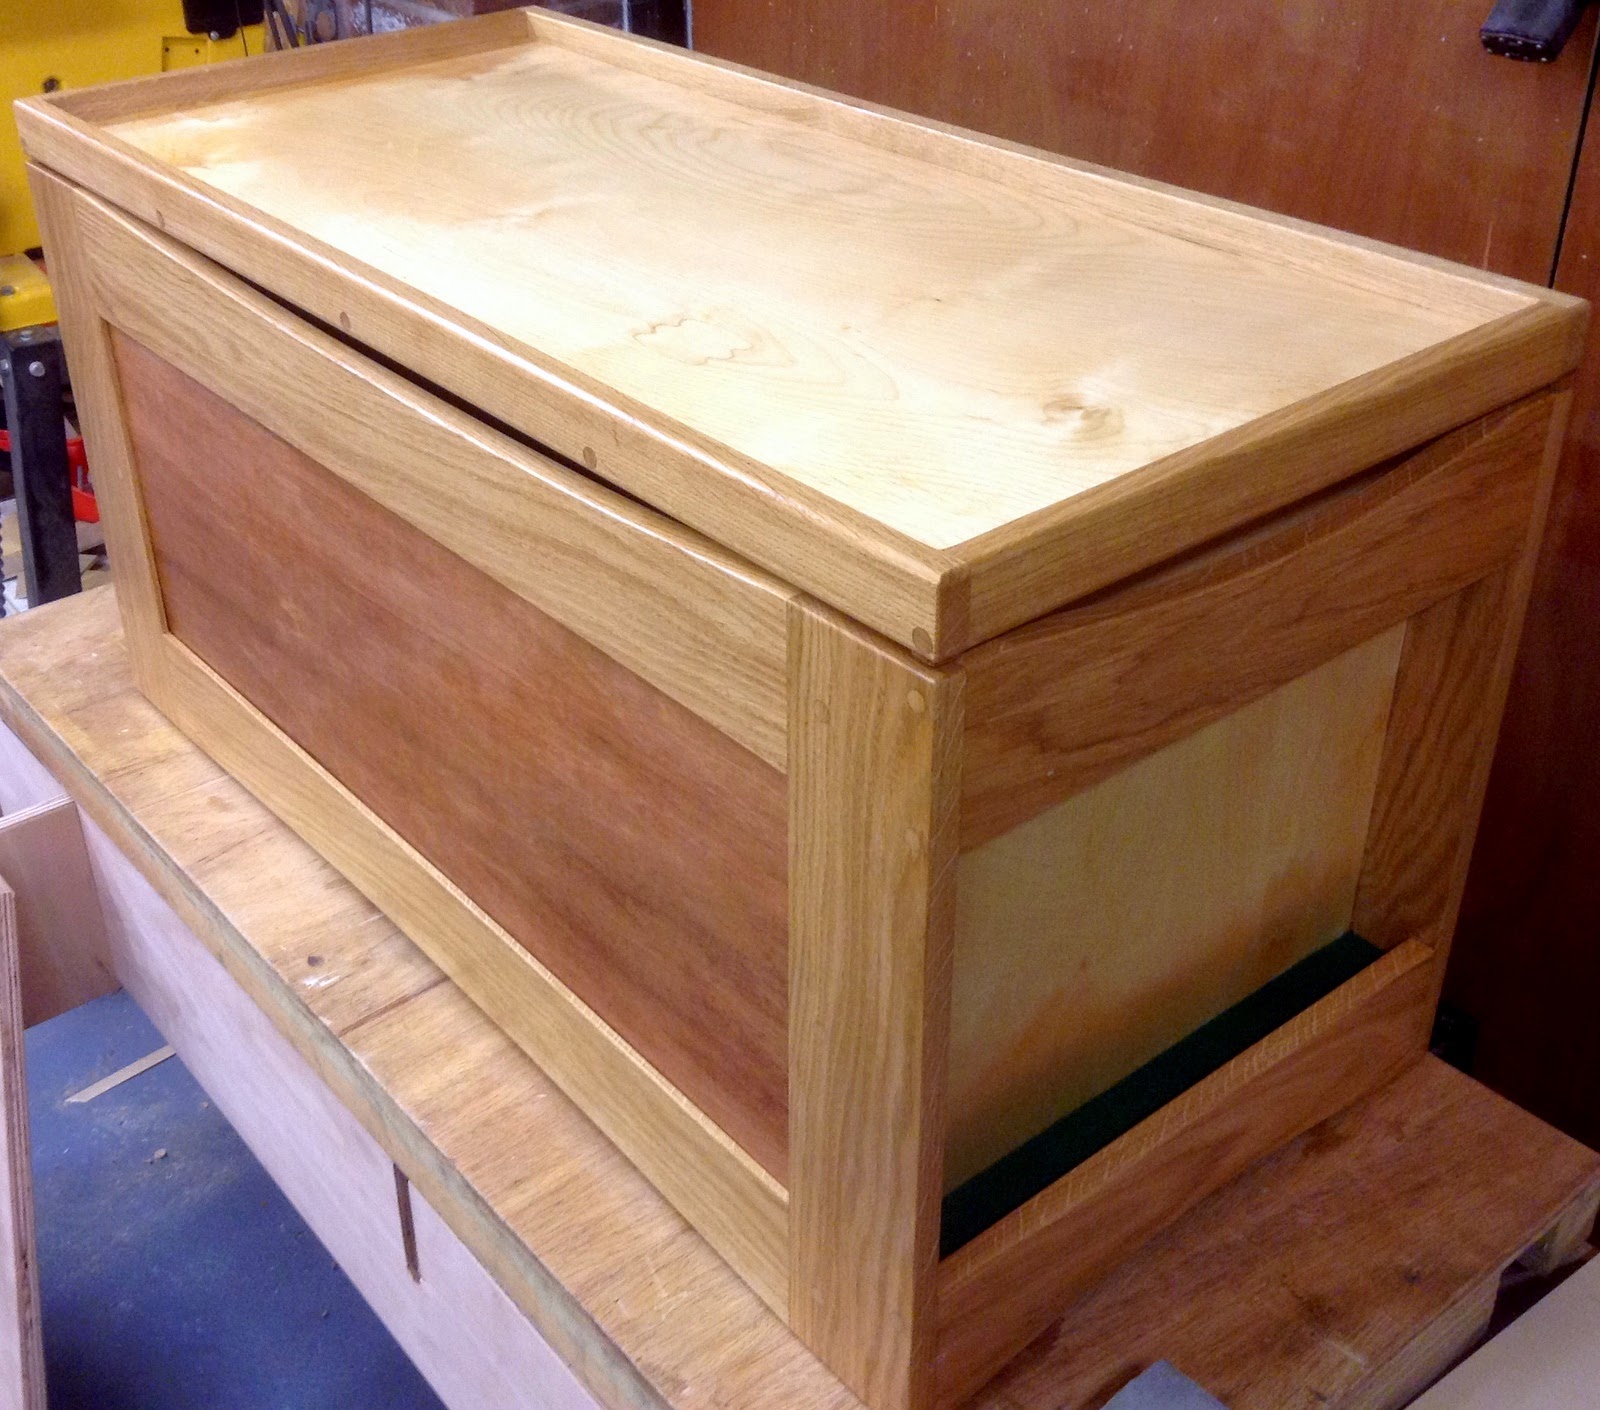
Edge banding glued in place after removing the
forest of clamps and waiting to be trimmed

I really like my chisel plane
it is great for removing squeeze out

Monday 16 March 2015

Wall mounted Plane and Tool Cabinet - Part 3 - External Door

Trimming the edge banding was done with a bearing guided flush trim router bit. However this leaves a radius in the inside of each internal corner that needed removing with a combination of chisels and chisel plane. The chisel plane was also used to flush up to the plywood as sometimes the router bit leaves a few proud edges.

Using a chisel to clear the round corner

Followed up by the chisel plane


The door parts were made next. As I didn;t have enough walnut width for the entire door, this was being made with what I had on my shelves after all, I made a few glue ups. I did use some dark Titebond II rather than the Titebond II shown

Wednesday 11 March 2015

Wall mounted Plane and Tool Cabinet - Part 2 - Carcase

Most people know how to make rectangular utility/kitchen/wall boxes but if you don't here is how I did it.
The carcase is made from multiply Baltic birch plywood 18mm thick (3/4").
First of all the stock was roughly cut down using a circular saw and then cut to size on the table saw. The rear edges of the sides, top and bottom panels had a rabbet (rebate) machined in using the router table. The rear panel was also rabbetted to sit within the frame. I also machined a dado (housing or trench) into each of the side panels to locate the top of the integral drawer box.

The joints for the carcase were cut utilizing a dovetail routing jig. I decided that hand cutting so many of them were not for me this time so I broke out my little used routing jig. The default setup for my jig is half blind dove tails so I simply used this option

Open box after the initial glue up

Monday 2 March 2015

Wall mounted Plane and Tool Cabinet - Part 1 - Design

I have just started a personal project that I have just not had time for over the past view years. This is a wall mounted cabinet for storing planes and other hand tools. For a long time various tools have been kept in drawers, on open shelves, in tool boxes and in the storage module under my workbench, This has worked well but, like most shop improvement projects, the time has come to store them in a more pleasantly aesthetic manner.

Location

I have an ideal position for the cabinet fixed to the wall at the side of the main window behind my bench. The wall in this corner of the shop location is made from Accrington bricks and cement blocks so should easily hold the weight of the filled cabinet.

Toy Chest Finished

I've only just got around to publishing the finished pictures of the toy chest.
The customer was very happy with it and she has her toys in and on it at the moment. I hope it gives her a lifetime of happiness.

Hinges are 40 pound Rockler Torsion hinges

Timber is European oak and baltic birch plywood.
Finish is General Finishes ArmRSeal