Tuesday 17 April 2018

Making the most of shop storage space

My freestanding shop in the garden was rebuilt from ground up back in 2012. Since then its space usage has inevitably evolved and is in a constant state of flux. Storage space is always at a premium in a small shop such as mine. It is around 410 sq feet in total and this used to be a two stall car garage so you get some idea of its size. I spent many years working out of toolboxes in the original shop but storage was so disorganised I would look for a tool, not find it, end up going out to buy another and then find the original some time later. I would then end up with double or triple of the same item. Something had to be done to storage.
The shop is at the bottom of the garden


The castle overlooks the shop


Wednesday 11 April 2018

Drill Press Upgrade - Part 9 Drawer Construction

4 drawers for the storage unit

The next part of the job was to make 4 drawer boxes from 12mm (1/2") birch ply. I didn't have any birch ply in stock but marine is just as good. I decided to use pinned rabbet joints for strength. This required the drawer fronts to be cut to 12mm less than the drawer width. This compensated for the 6x6mm rabbet to be cut on the front and rear drawer panels.

Typical rabbet joint


The router table was setup to cut 6 x 6 deep slots in the side panels. This setup was also used to cut the slot for the drawer bottom in every drawer panel. Then a 6mm spacer was temporarily affixed to the fence to cut the rabbets. This meant that only one setup of the router table was required.


Rabbet setup. The router table only needs setting once to cut both slots and rabbets using this technique.

The drawers were glued up and left overnight to cure. 6mm dowels were also inserted to lock the panels securely. This isn't as strong as a proper dovetail joint but is good enough for shop furniture.

Tuesday 3 April 2018

Drill Press Upgrade - Part 8 Storage Cabinet Top

This is made from 18mm (3/4") birch plywood and has a cutout to enable it to be fitted around the drill press column.
This was just done using a hole saw and a jigsaw. The edges of the slot were then smoothed using my oscillating spindle sander.

Cabinet Top

The perimeter of the top was edge banded with hardwood.

The underside of the top then had a pair of slots for the sliding doors carefully machined into them.

Underside showing sliding door slots


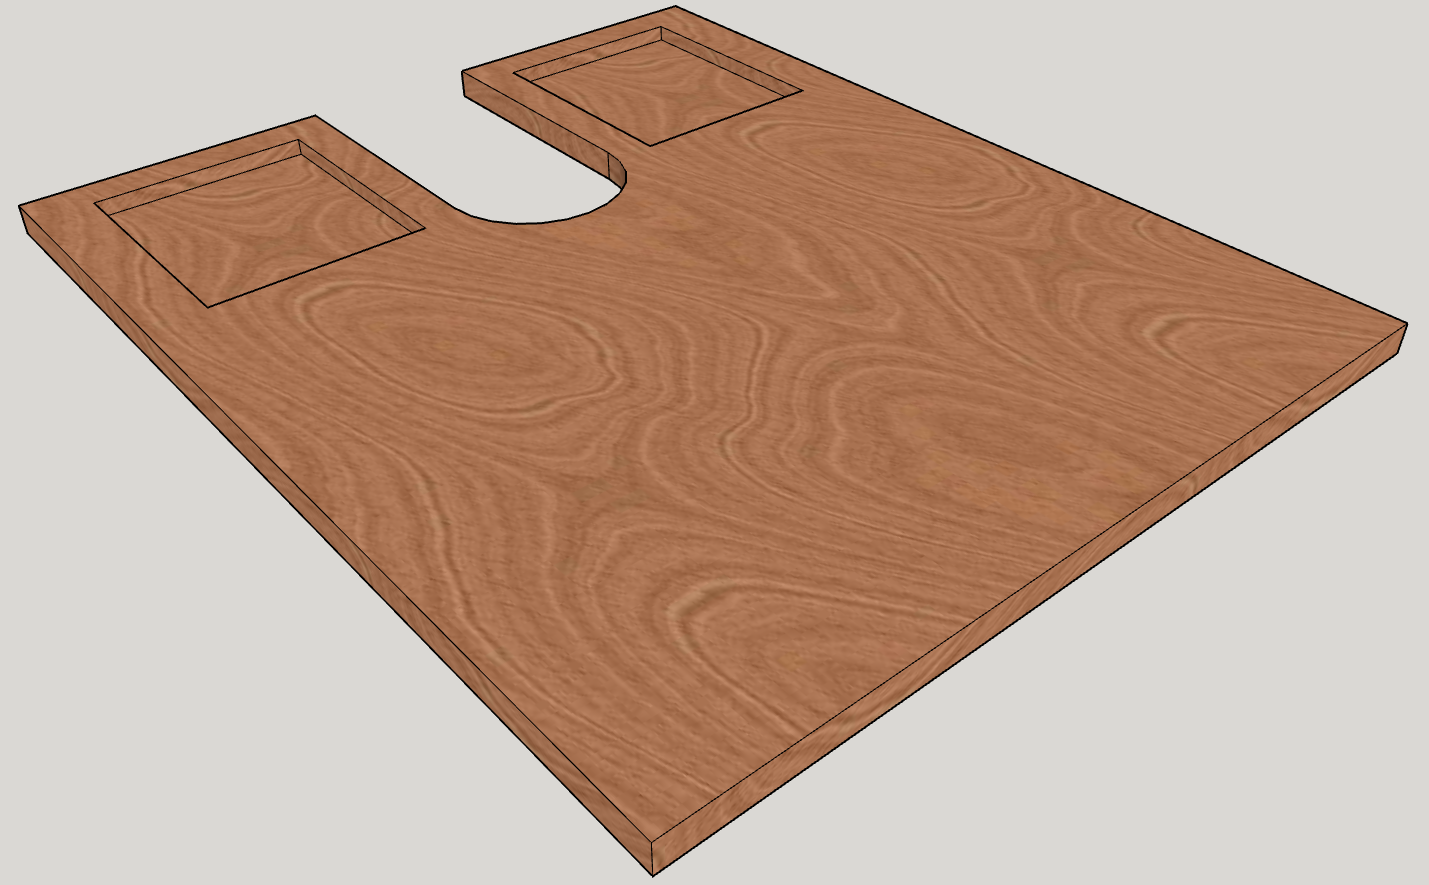
The next part to be tackled was the pair of routed trays. This is to provide a place to temporarily store items like drill bits to prevent them from falling into a pile of wood shavings never to be seen again!

First of all a simple router template was made in the shape of the tray. Next, using a guide bush, the trays were machined using a handheld router fitted with a cove bit.

The entire top was then sanded and coated with 3 coats of General Finishes Exterior 450. The underside only had 2 coats.

The top was fitted to the cubby/carcase assembly ensuring that the slots in the underside of the top were aligned with the sliding doors.