Monday 27 July 2015

Bedside tables (nightstands) - Part 6a - Cross stretchers

There are a lot of these. Originally I designed the tables so that the shelves would hold the side assembly in should there be any movement causing splaying of the legs.

Original design without cross stretchers
I also designed in enough clearance so that the shelves were clear to expand and contract due to seasonal humidity variations.

I decided half way through the build to add stretchers in front of each shelf, still giving a slender appearance to the shelves. I also incorporated M&T joints for the lower rear cross member. Previously both rear upstands had just been glued to the shelf - the lower one was now part of the structure. This required me to hand cut mortises to suit these after the sides had been glued up.

New design with cross stretchers

The assemblies would not fit on a mortiser, a router table and a router had nothing to register against as all measurements had to come from the now glued up inside faces. I think even a Domino would struggle once the side assemblies had been glued up.

So I hand cut the mortises.

The process of hand cutting mortises is very simple and comprises the following:

  • Mark out the position of each mortise preferably with a marking knife to sever the wood fibres
  • Under cut a knife line with a regular bench chisel
  • Use the mortise chisel to chop out an initial shallow trench but stay shy of the cross-cut knife lines. The reason for this as it's so easy when driving the wedge shaped blade into the wood and go beyond your knife lines
  • Remove the chopped out waste
  • Register the mortise chisel in the shallow trench and chop out in 1/8" deep passes until you achieve the desired depth.
  • When the full depth has been reached go back to the cross-cut knife lines and finish the mortise to the knife lines.
If anybody wants a demonstration using photos (I don't do video yet) just let me know.

This is very simple to do and results in very accurate mortises. I encourage everybody to at least try this process once as it is very satisfying.

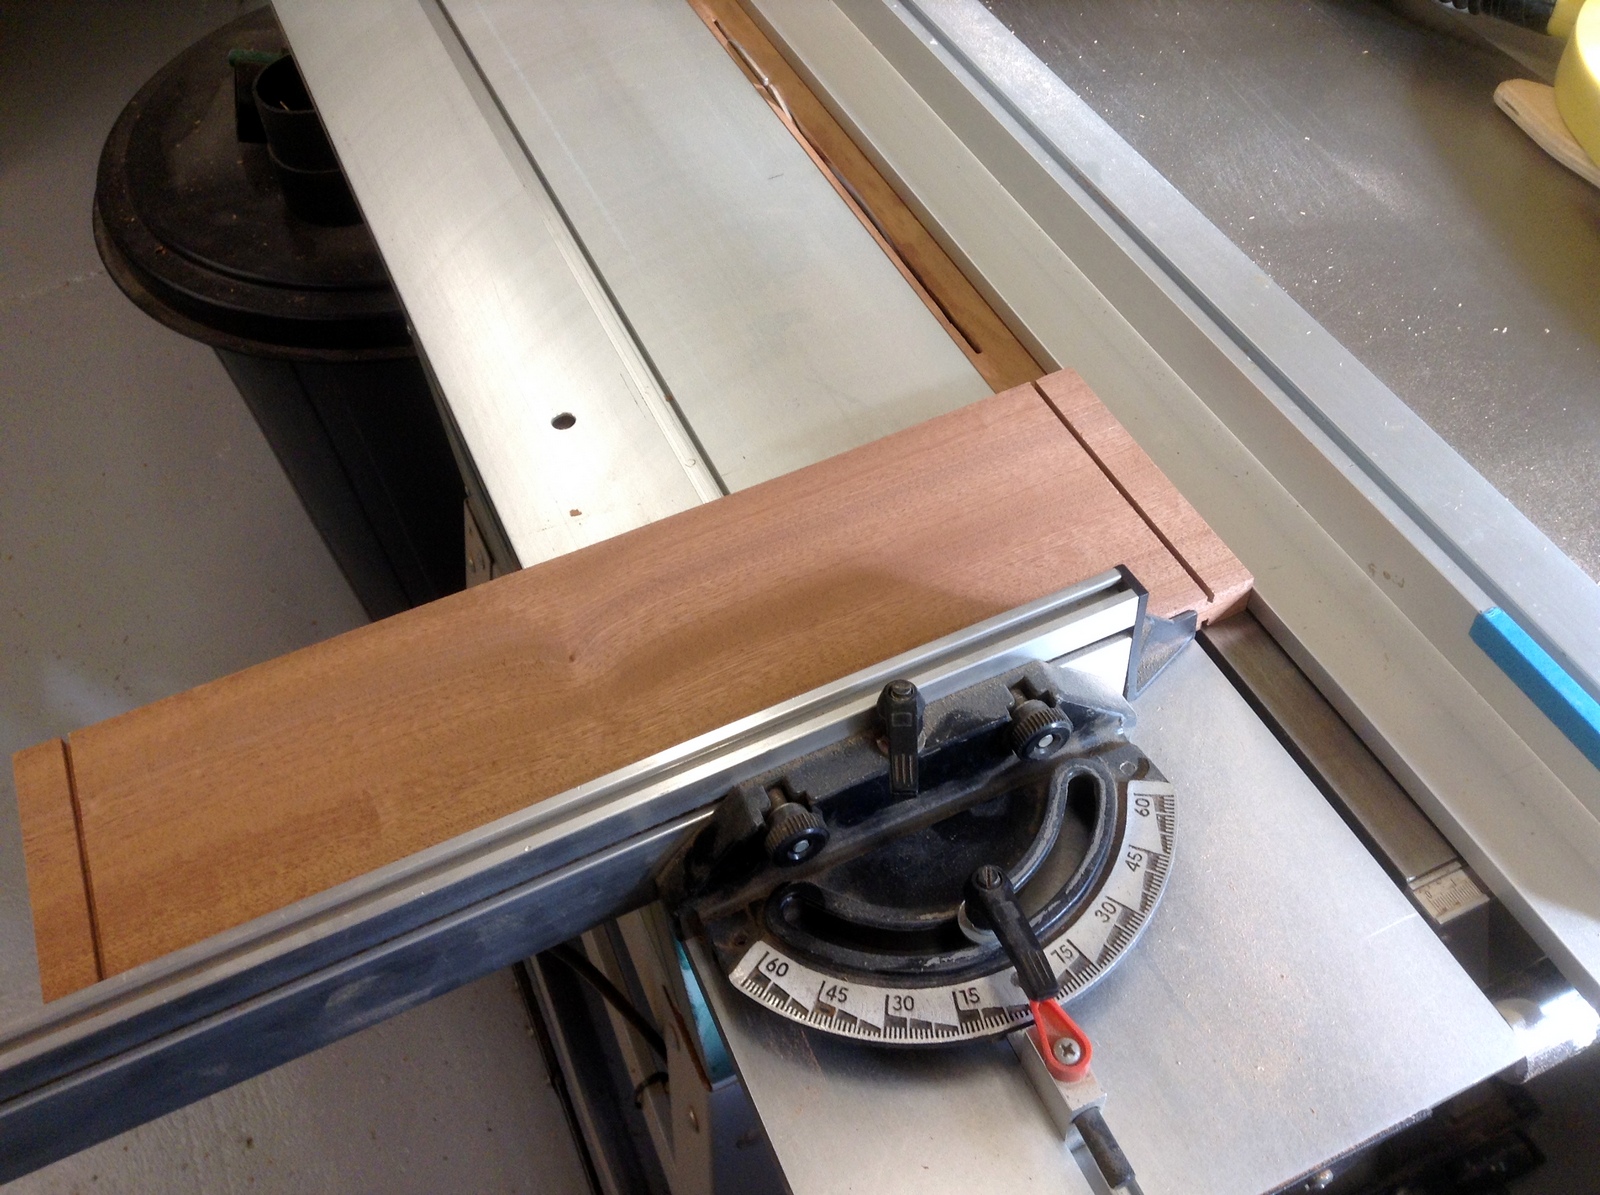
The same process that was used to produce the side aprons and shelf supports was used to produce the cross stretchers, table saw to establish the shoulders, tenoning jig to cut the tenon cheeks to width, cut to the tenons to width and shape.
Tenons cut and adjusted for width


The rear lower stretcher also functions as an up-stand to prevent items falling off the rear of the lower shelf in the finished article. This needed some extra work doing as I designed haunched tenons for this particular item. Again the mortises were cut with the mortising chisel and the deeper part of the mortise was cut in exactly the same way.

The rear aprons were made and these components have two tenons per side. I designed it this way to miss the tenons in the side aprons.

Rear apron with two tenons
Side tenon with 1 tenon

Leg in position
(Shown in Xray mode on Sketchup)


Again all the stretchers had a bead routed on the lower face and the other edges had a shallow round over routed in. The exception to the round over were the bottom cross-member forming the drawer slot. This was just chamfered with a block plane.

Finished cross-stretchers and lower rear aprons


Thursday 23 July 2015

Bedside tables (nightstands) - Part 5 - Side subassembly glueup

Each one of the components comprising the side assembly were sanded to 220 grit as it would be impossible to do properly after a glue up. I found that planing the legs, even with a high bevel angle smoother, was difficult due to the grain changing direction often. Scraping and scraping was the better option.

After an initial dry clamping to ensure all components fitted properly and a sanity check the four side assemblies were glued up.
I used Titebond 2 Dark for this as sapele is similar to mahogany when finished and the dark glue line left by TB2 Dark is not that noticeable.

After being left overnight they emerged from the clamps and were flat and stable.

One of the side sub-assemblies after glue-up
Then any dried squeeze out was removed with a chisel and chisel plane.

Tuesday 21 July 2015

Bedside tables (nightstands) - Part 4 - Completing the legs - a tablesaw tapering jig

The lower 120mm (4-3/4") inside sections of each of the legs were intended to be tapered to give the illusion of lightness to the whole piece. To do this I used my trusty old tablesaw leg tapering jig to clamp each leg in place whilst slightly angled relative to the blade.

Front view


Side View

Monday 20 July 2015

Bedside tables (nightstands) - Part 3 - The aprons

When making any piece of furniture it is best to make as many sub-assemblies as you can to avoid the inevitable "glue up rush". This is when you are trying to glue as many components in as you can in the shortest time possible knowing that the glue is setting up and causing you to PANIC. This can sometimes result in you gluing items upside down, back to front or even inside out.

First thing to do was cut all the parts out of the sapele rough sawn boards. I use a hard point panel saw to separate the parts. I used to use a jigsaw when I saw Marc Spagnuolo doing it on a few of his TWW Guild builds. I found that the blade would not stay true and square so went back to the manual method I've been using for 20+ years.

So this table is designed like many other to have the sides glued up first. The sides comprise a deep apron at the top and two shelf support stretchers under the apron and close to the bottom.

Again these were milled from sapele boards, cut to length, jointed, planed and tenons cut. I like to make the mortises first (as seen in the previous post) and then cut the tenons to suit. It's far easier taking wood off with a should plane or rabbeting plane rather than trying to put it back on. The shoulders are cut on the table saw and the faces of the tenons are cut using a tenoning attachment again on the table saw.

Cutting shoulders using the table saw
The riving knife can just be seen peeking above the
surface of the table. The sliding table makes
for accurate work as the miter gauge is clamped in place
by tee nuts in the tee slot.

Sunday 19 July 2015

Bedside tables (nightstands) - Part 2 - The legs

I had a piece of 16/4 (4" or 100mm square) sapele that I had seen in a home centre a few years ago. It originally was a finished newel post for a staircase and had been left on a rack alone in the home centre. I thought I could make a few guitar necks from it and as it was much cheaper than raw material bought it.
The timber was very well seasoned and was very stable and true. I used the bandsaw to resaw it in half and then run it through the table saw to get 8 pieces.
Then the usual milling process of jointer and planer/thicknesser was done to get the finished sizes of 38mm (1-1/2") square. The legs were then squared off and cut to length on the table saw crosscut table.
I then choose the best arrangement for each leg to match up the grain structures.
8 legs in raw form

Tuesday 14 July 2015

Bedside tables (nightstands) - Part 1 - Design

Here is a design for a pair of bedside tables or nightstands made from sapele.
My wife and I had seen some bedside tables in Malta earlier in the year that were the right scale and I took a few measurements related to the height of the table surface above the mattress as they just seemed to work.
When we got home I transferred the measurement I had taken to our existing bed side tables and came up with the size of table that would work in our home. First of all in Sketchup I drew a solid cube with dimensions to suit what I had worked out. Then came the specification.

The pair of tables needed the following:
  • Design to match a future chest of drawers.
  • A wide top surface table to place a lamp, a clock and a beverage. It had to look clean and clutter free.
  • A single drawer underneath the top surface with drawer front flush with any aprons.
  • A gap to a shelf below the drawer that could be used to place an iPad (or similar tablet), a book or magazine. The ability to get into this space from 3 sides is necessary. This particular requirement was a specific request.
  • Another shelf around 5" up from the floor that could be used for a multitude of purposes.
  • The backedge of each shelf to have an upstand to prevent items falling off to the rear.
  • Tapering legs. 
  • Tables to be made from a single species. Internal wood for the drawer etc could be a contrasting species but would not be seen when closed.
  • Extensive use of roundovers and beading.
  • Semi gloss natural or amber tinted finish using waterborne polyurethane.
  • Wooden drawer pulls of a design yet to be envisioned but will be agreed with the customer.
Another consideration to be taken into account was the shelves needed to be removable to allow access to the fixings of the table top. They could be screwed from underneath with fixings running in slots to account for any seasonal expansion.

Then I went away with Sketchup and came up with this design.

Beaded nightstand
I worked with my customer (my wife) on this to come up with the design before any wood was cut. Cardboard works well to help a client visualize the scale of the pieces.

Beauty is in the eye of the beholder

I'm working on a couple of tables in the shop at the moment and my wife came in to inspect. She was stood at the bench and I heard "Wow absolutely beautiful". I turned around to find her inspecting a piece of oak scrap with some self adhesive sand paper stuck to it. She meant it. She saw the grain - I saw a piece of scrap.
It goes to show everybody sees things in different ways.

Beautiful? - You decide :)