Fitting the mullions was just using the smoothing plane on all faces which removed all milling marks and produced a sliding fit.
 |
| A pile of mullions |
 |
| Wedged Tenon Template |
There was one more bottom rail to make. This is 4.1/4" wide x 1.5/8" thick. Marking off the top rail tenon shoulders ensures that the shoulders are all the same length.
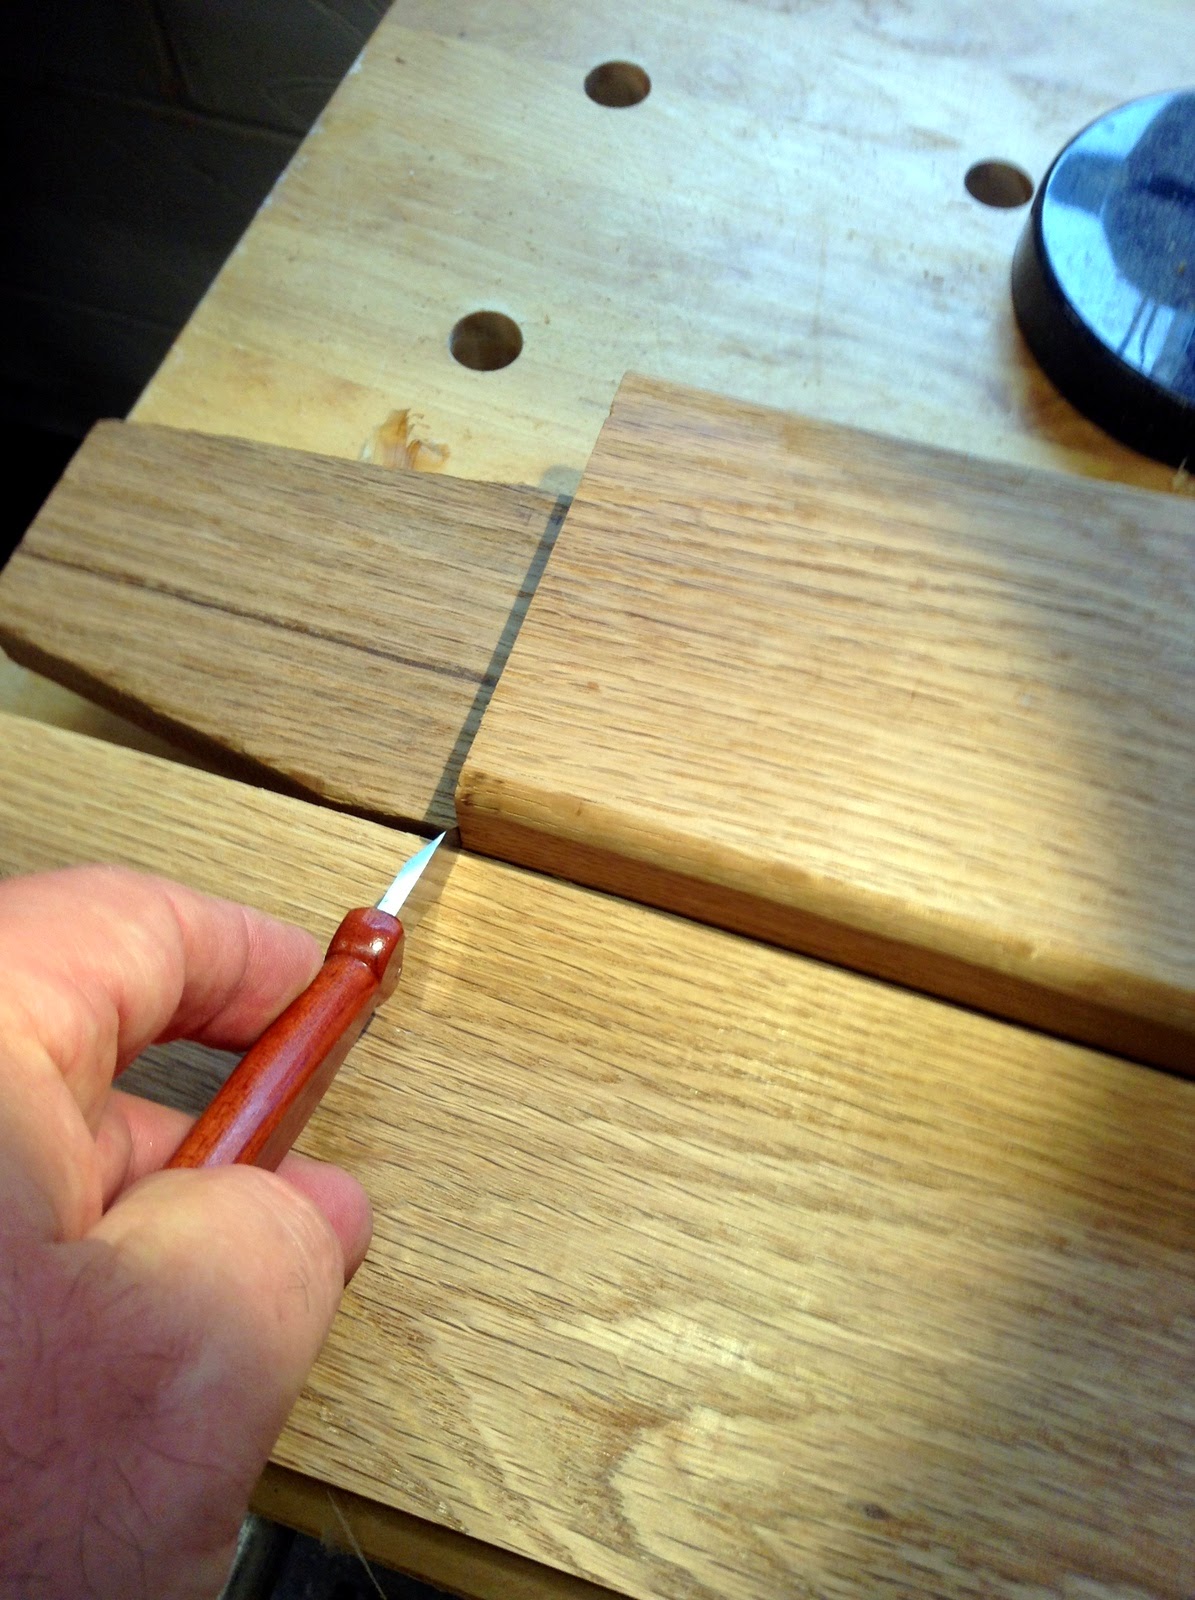 |
| Marking the tenon shoulders from the top rail |
Then it was a combination of some chiselling, the router tenon routing jig and a rabbeting block plane to produce the tenons.
 |
| I had to use some epoxy to glue a split back together prior to marking the tenons. You can see the glue on the end grain |
Then using the template I cut the tapers on the tenons by hand using a japanese rip saw.
 |
| Tapers cut |
Finally finishing off all the tenons with a chisel and a cheap rasp.


An initial dry fit of the top and mid rails with the mullions and then fitting the stiles was done as a sanity check. We had to use the rabbeting block plane to get a slip fit for each joint.
 |
| Finishing the tenon faces |
We could then mark off the routed slot in the lower part of the stiles onto the mid rail. This is so the ends of the tongue and groove boards can slid into the midrail. After marking this the dryfit was disassembled and we could machine the slot in the underside of the midrail.
Here is the gate in it's dry fitted state.
 |
| Mullions fitted I may need a bigger bench! (Quint - "We're gonna need a bigger boat" [Jaws 1975]) |
 |
| Stiles fitted |
There are several jobs yet to do:
- Shape the top of each stile
- Make some diagonal braces
- Make the tongue and groove boards
- Carve the letters and numbers into the various faces of the gate.
- Glue up
- Apply some gold leaf to the numbers
- Apply finish
- Fit to the brick gate posts
No comments:
Post a Comment