Monday, 28 December 2015

A router cutter storage cabinet

Over the years I have accumulated a decent collection of router bits and decided to upgrade their storage from the piece of mahogany drilled with a grid of holes to a storage drawer that can be mounted under the router table.
There was a fair amount of scrap wood that I had in stock; some left over oak flooring from a friend, a couple of cutoffs from an old oak open shelves and a few pieces of baltic birch plywood.

A design was made using Sketchup so that the internal dimensions of the drawer could take two rows of Trend router trays. I know I could drill holes in some wood myself but these are well made and cheap enough to buy in bulk.
Trend 1/4" router tray

Tuesday, 10 November 2015

Bedside tables (nightstands) - Part 14 - Completion

The final part of the tables build was to fit the various shelves in place and fix the top.
I had designed the tables to have detachable shelves and top as it would have been difficult to fit the top if they were fixed in place.

First of all the top was inverted on the assembly table and the table frame was placed upon it. This was then positioned equally about the centre line and the rear was 1/4" (6mm) proud of the legs. Then a few shallow pilot holes were transferred through the predrilled slots in the securing cleats.

The frame was removed and the pilot holes were drilled to depth and correct diameter to suit the screws I intended to use. The screws were driven in by hand, after waxing the threads, to precut the threads in the top. This also makes sure that the potential for cracking the top is minimized. Then the table frame assembly was simply screwed into place. The holes are slotted to allow for seasonal variation in the width of the top.
Blue tape used as a depth gauge

The iPad shelf was then put into place and held in position with some small countersunk screws.

The bottom shelf was then put into position and again secured with some small countersunk head screws.
Tiny countersunk screws hold the shelves in place.
They are supported in rabbets.
This photo is the underside view.

The tables were then complete and ready to go to the customer. So there you have it - a pair of bedside tables or nightstands in a single species (sapele) finished with Arm-R-Seal semi gloss.

In place

Sapele is a wonderful species to use.

Hope you enjoyed the series.

Wednesday, 21 October 2015

Bedside tables (nightstands) - Part 13 - Lining the drawers and making drawer pulls

Lining the drawers.

The customer stated that green baize was to be used to line the bottom of the drawers. So I got some self adhesive felt baize that I have used several times before and cut it to size.

Securing the baize is a breeze by peeling back 1" or so of the release paper and gradually working along the drawer rubbing it down as you go along. Final flattening with a veneer roller ensures that any air bubbles are removed.
Cutting to size

Peeling the release paper

The finished results are very good.


Drawer stops

I used a couple of counter sunk wood screws in the back of each drawer to act as stops.


Screw into the end grain of the dovetail
This is repeated on the other side

View from inside rear of the table (top off) approaching closure

Drawer fully closed

Drawer pulls

The order from the customer was to have wooden knobs of the same species as the main wood used in the tables. I had all sorts of ideas for fancy drawer pulls made from sapele but "no" came from the client. So who am I to argue.

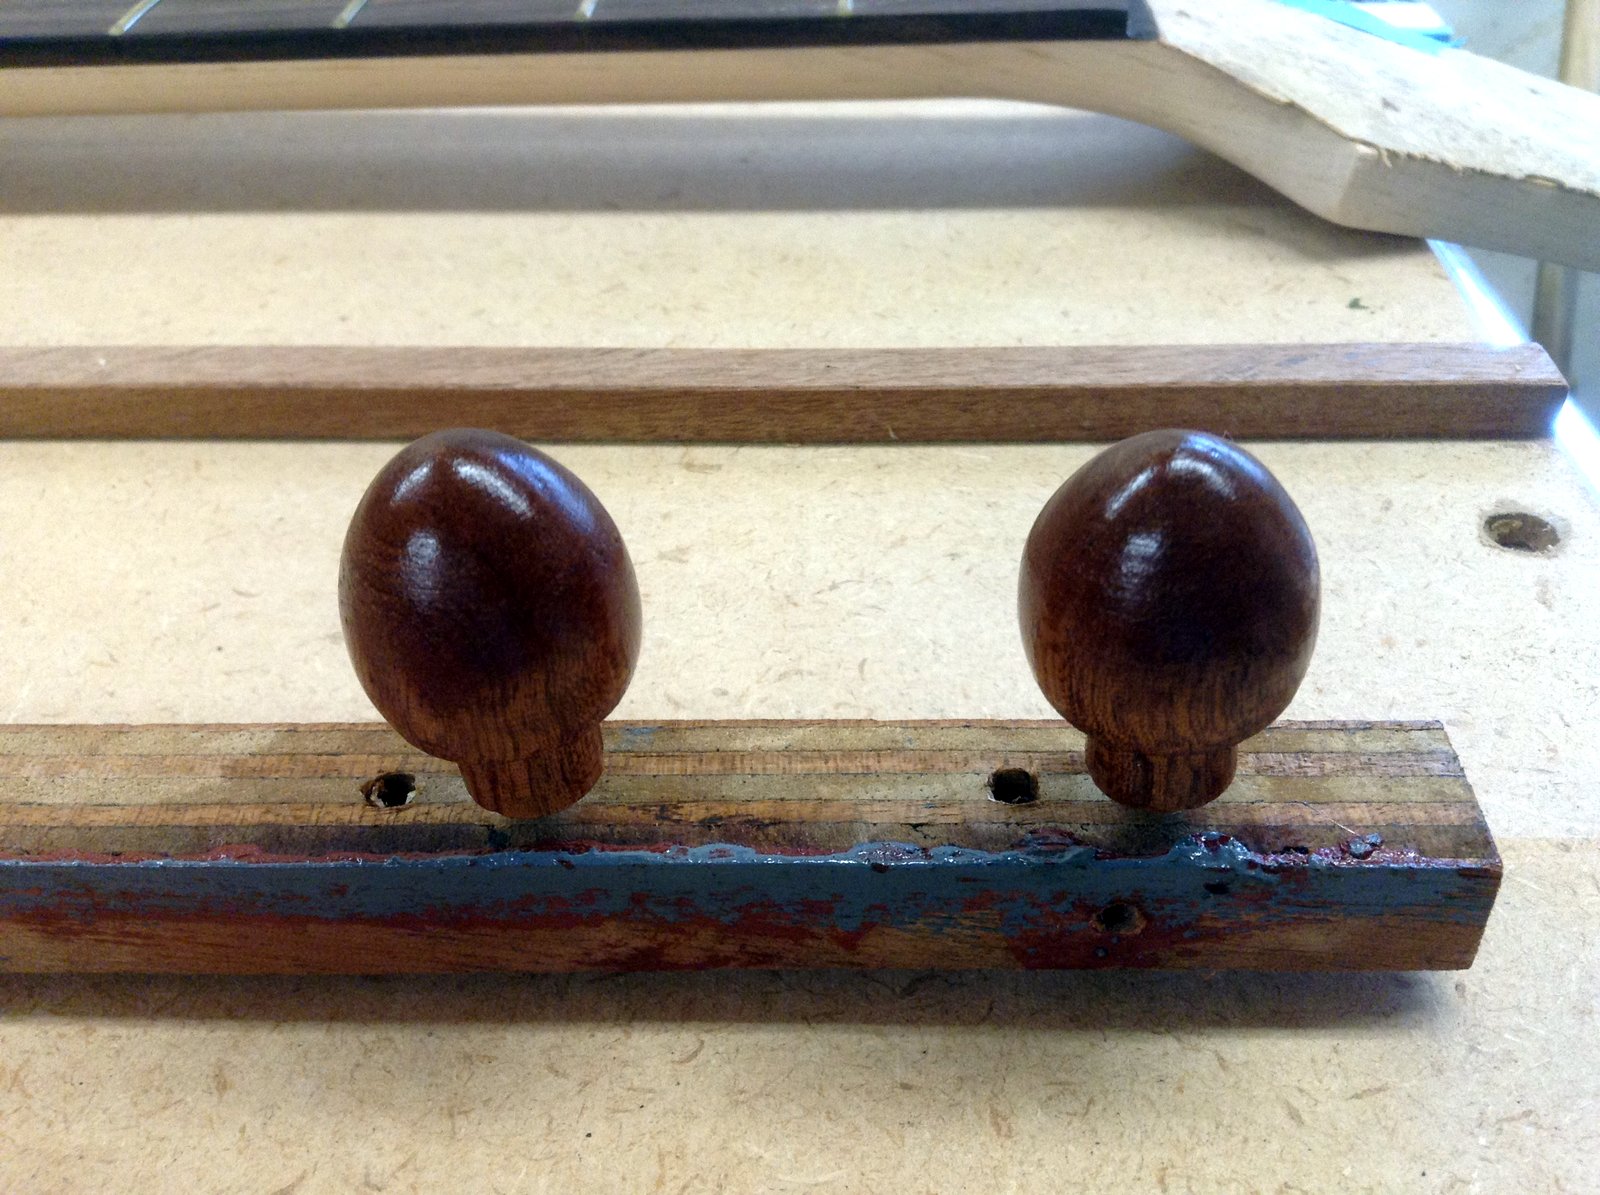
I broke out the dusty old lathe, sharpened a few gouges, dug out my calipers and turned a couple of knobs. They were finished sanded on the lathe and then when I cut them off at the base were placed into a piece of scrap wood containing a 3/8" hole. This fitted the turned tenon on the knob perfectly. It enabled me to hold the knob to cut the length down to 3/8" long (10mm). A pilot hole was also drilled for a #8 wood screw.
Finishing the knobs - they are screwed onto a piece of scrap


Then the knobs were finished with several coats of Arm-R-Seal and left to cure.

Final fitting to the drawers was simply by drilling a pilot hole, blue tape on either side of the hole to prevent break out and screwing the #8 screw from the inside. The knobs were then screwed onto the protruding screw.

The finish of Arm-R-Seal on the entire pieces really brings out the grain of the sapele.

Friday, 9 October 2015

New jointer/planer blades fitted Axminster AW106PT2 Jointer/Thicknesser

I have just spent a couple of hours maintaining my Axminster AW106PT2 planer/thicknesser (combo jointer/planer for North American woodies)

I replaced the expensive TCT blades with some HSS blades I bought from a local tool company, Woodford Tooling in Cheshire UK, via Amazon. I have been disappointed with the TCT blades from Axminster here. They are of Chinese origin, are not as sharp as HSS and probably need honing from brand new. They are supposed to last much longer than HSS but I have had a problem with tearout on the ends of boards. This is not usual shallow tearout but massive lumps of wood been removed. No such problems with the new HSS blades.

It took about 2 hours to replace the blades, cleaning the machine as I did so. Since having the machine I have done the periodic maintenance specified in the manual, oiling the chain, oiling the bearings, greasing the massive guide shaft and waxing the beds. All very straightforward and easy to do.

The blades are more time consuming to do, I use the setting gauge supplied with the jointer, a block of wood, the tiny 7mm spanner and a pair of Axminister LED setting jigs to do the job.

I have had these a while and they needed the rare earth magnets re-gluing into the body of the gauges with CA glue as the original glue was not very good. After that the gauges have worked perfectly.
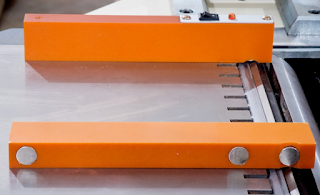
Underside of one of the jigs shown.
The rare earth magnets needed re-gluing on the set I have.
I also levelled the magnets to the surrounding thermoset plastic
by running the jig using sandpaper on a granite plate
(same technique as used when flattening a handplane sole)

Jigs shown in position on the AW106PT2.
When the blades are in the right position an electrical circuit
is made and the LEDs light up.

After fitting the new blades a test cut with oak showed the new knives cut a lot better than the TCT knives with very little noise and they are very smooth. 
I have a couple of sets of knives to be sent out for re-sharpening. Hopefully the TCT blades will come back much better than before.

I wish Axminster would produce a helical head for the AW106PT2 though. Sadly at the moment they don't and there is nothing on the horizon.