Then fitting the neck in position carefully transferred the pilot holes into the neck. I then took the neck out of the body and drilled to full size 1/8" diameter x 3/4" deep the holes for the screws. Then I drilled clearance holes in the body.
The screws are actually around #8 or 4mm in diameter and needed some wax to screw into the neck but went in without stripping or breaking.
I drilled some counter-bores with a 6mm drill bit for the magnets to hold the cover plates on. Into these I used some CA glue to fix some rare earth magnets (6mm dia x 1mm thick) in place. There are also corresponding holes drilled into each of the covers. They fix in place with a satisfying "plop" noise and are very secure. No screws showing on this build. To open the covers I have a finger nail grove and slot cut in the cover and body.
Making a nut
The nut is made from a bone blank and was first thicknessed on some sandpaper so it fitted in the dado (slot) I had cut in the fretboard in an earlier post.Then using a pencil that was cut down the middle with its lead sharpened to a chisel point I scribed the profile of the 1st fret onto the bone
 |
| Here you can see the pencil sliced down the middle |
 |
| Whilst referencing off the 1st fret, using the flat side of the pencil, the profile can be scribed across the nut blank |
 |
| Using a fret saw to cut about 3/32" (about 2mm) from the scribed line |
I then used sandpaper attached to a metal sanding beam to smooth the profile and get the nut to shape. I also cut the nut to width.
 |
| Using a chart and a sketchup diagram I had drawn I could then mark out for cutting the string slots. The nut files are on the right. These go from .010" to .058" |
 |
| The nut is marked out on the centres of each string |
 |
| Using the nut files I was able to rough-in the nut to shape. It will still need some fine tuning and polishing. |
Fitting the hardware
The first job I did was to line the control cavity and pickup cavities with copper foil. This is so that the electronics will be shielded from radio frequency interference when the foil is grounded (earthed).
The copper foil I use is self adhesive copper foil used to run around plant pots to prevent slugs for climbing into the pots and eating your plants! It's actually cheaper than the "real stuff" and works just as well.
The last piece of hardware to be fitted will be the Schaller M6 locking machine heads. I am waiting for a 10mm machine reamer to arrive to ream the holes to size. Drilling with a drill is not an option once you have got this far as you can split the headstock if you are not careful. A drill can snatch and cause a split if you are unlucky.
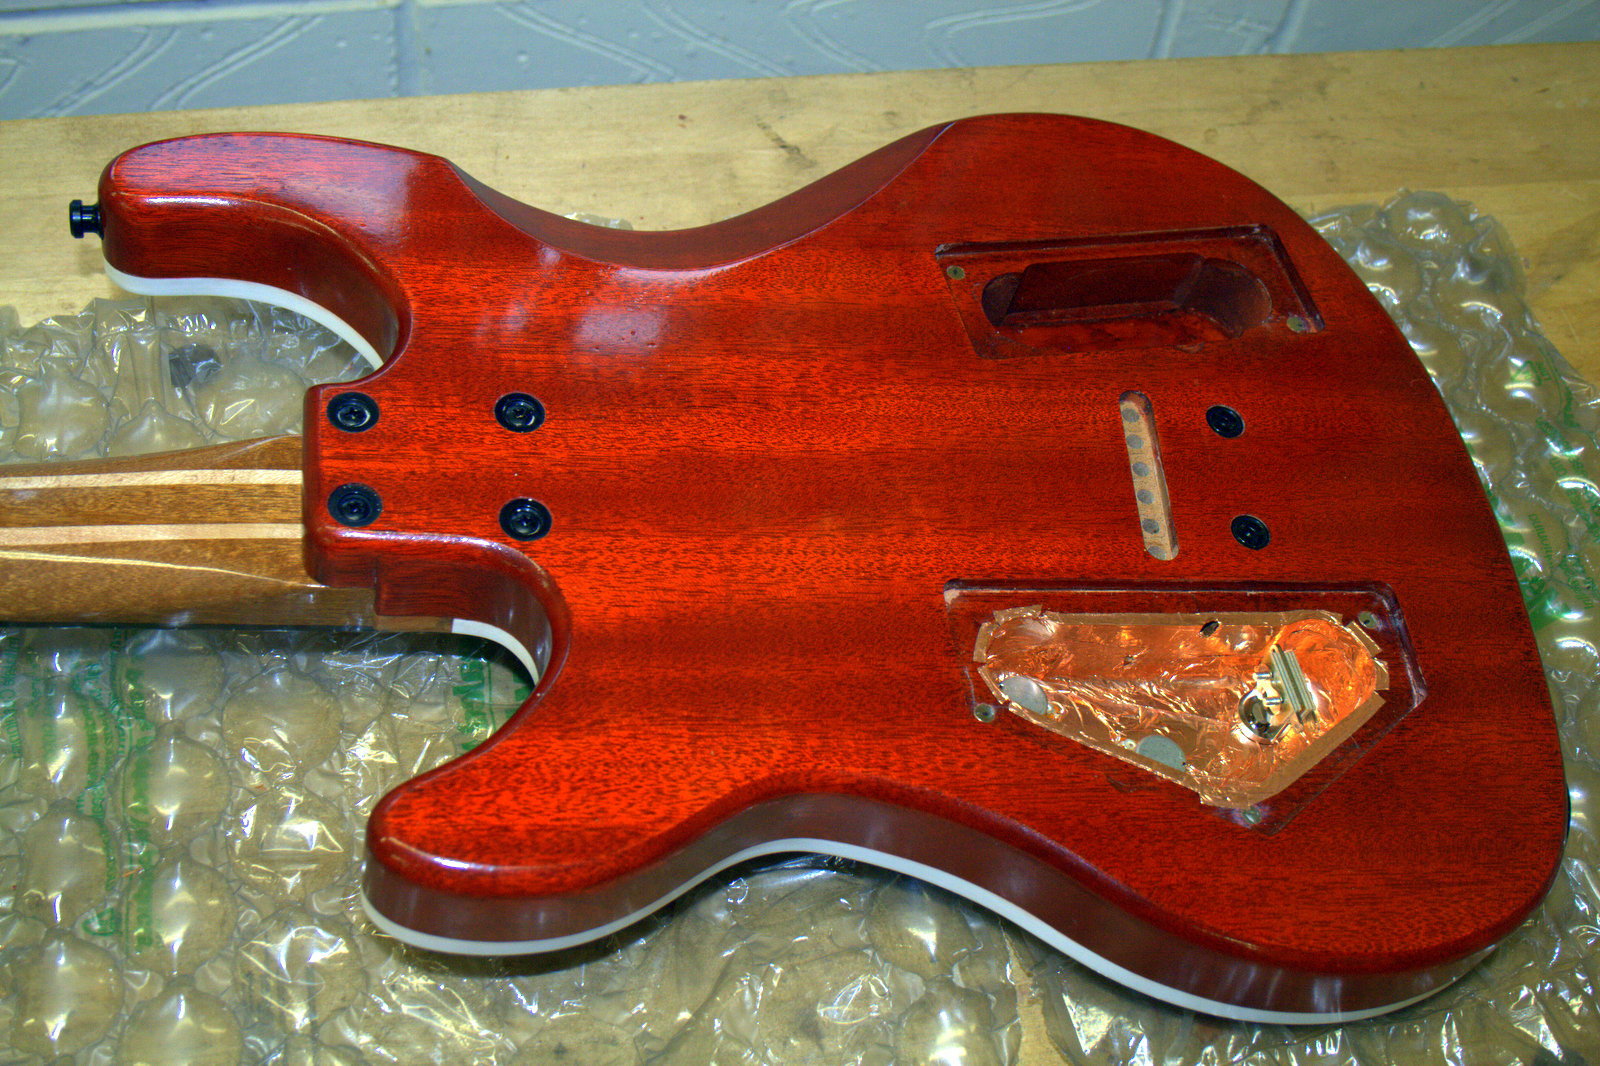 |
| Control cavity lined with copper foil. You can also see the neck bushings with screws in place. |
I then drilled the holes for the Schaller security strap locks and fitted the male part on the upper horn and the end of the body. The strap locks are used to prevent the guitar strap from coming loose during a performance and the guitar falling to the ground. Although Pete Townsend never used them during his guitar smashing days with The Who :)
The next job was to shorten the screws to fix the bridge in place and fit the bridge. This is a high tech Schaller Hannes carbon fibre bridge in black. They are really comfortable as there are no screws protruding from anywhere and it is all curved and shaped with no sharp edges to catch your picking hand.
Fitting the Seymour Duncan SAHB-3 Blackouts pickups/pickup rings into place was just really making sure they were square to the centre line and equal distances apart top and bottom. Drilling the pilot holes with a 1/16" (1.5mm) drill and then fitting the tiny screws.
The control potentiometers and pickup switch were fitted and knurled knobs placed on to the pot shafts.
 |
| Hardware now in position |
 |
| I only have the Shaller M6 locking machine heads to fit now (in the white plastic). The neck is resting on my own custom neck rest. It's great for any guitar when changing strings or working on it. |
 |
| Control cavity cover with its miniature magnets to hold it in place. This is also covered in copper foil. |
The last piece of hardware to be fitted will be the Schaller M6 locking machine heads. I am waiting for a 10mm machine reamer to arrive to ream the holes to size. Drilling with a drill is not an option once you have got this far as you can split the headstock if you are not careful. A drill can snatch and cause a split if you are unlucky.
Next time we wire the electronics and shim the neck.
No comments:
Post a Comment