I did all this before but didn't chop in front of the base line so gave it a try out on these two drawers. I can report that the results are even better than before. There is very little chance of the wedge action of the chisel pushing the base line away from the line due to the small amount of waste left. I still cut a knife wall on the base line as I always have done before starting the cuts (Frank does this too).
So here are some more boring pictures of dovetailing. I used the tails first method.
 |
| I have a few of these spacers of standard thickness 1/2" 5/8" and 3/4" that I use on my bench vise to stop it crabbing |
The piece of hardboard or ply nailed to the top of the spacer stops it continually falling on the floor when you open the vise.
I then used a Veritas 1:8 saddle gauge to guide me when marking off the slope of the saw lines. Again Frank doesn't even use a pencil to mark his line he just saws away - he's been doing it a lot longer than me.
 |
| A non crabbing vise |
After milling all the stock to thickness which in my case was 3/4" for the drawer fronts and 1/2" for the rest of the drawer parts I squared off one end from each of the tail boards. I also cut the drawer fronts so they fit into the drawer aperture with about 1/32" clearance at the top and sides. This clearance is ok in my climate but you may wish to vary according to your own seasonal conditions.
The first thing to do is set your marking gauge at the thickness of the tail boards, lock the gauge and then scribe all around the squared off end of each tail board. At this stage the back end of the tail boards needn't be the correct length nor square. You can adjust that later.
Then mounting the board in the vise (with a spacer at the other end in my case) I used the metric (I know it's the work of the devil :) ) Incra rule to mark off from one end and then turn it over to mark from the other end.
Marking out.
Frank doesn't mark out - I do.The first thing to do is set your marking gauge at the thickness of the tail boards, lock the gauge and then scribe all around the squared off end of each tail board. At this stage the back end of the tail boards needn't be the correct length nor square. You can adjust that later.
 |
| Using the Veritas marking gauge - I prefer this over a traditional gauge |
Then mounting the board in the vise (with a spacer at the other end in my case) I used the metric (I know it's the work of the devil :) ) Incra rule to mark off from one end and then turn it over to mark from the other end.
 |
| Incra rule |
 |
| Define the lines with a square and 0.5mm pencil |
I then used a Veritas 1:8 saddle gauge to guide me when marking off the slope of the saw lines. Again Frank doesn't even use a pencil to mark his line he just saws away - he's been doing it a lot longer than me.
 |
| Veritas 1:8 hardwood marking saddle. You don't really need one of these as I got away with a sliding bevel for years but they are great. |
 |
| Position it so you can see the pencil mark |
 |
| Mark sure you mark both sides if you are not practiced at keeping the saw square. You can then do a little at a time while peering over the other side from time to time |
Sawing wood
Then using a dovetail saw I cut close to the base line at all marks. I use beeswax on the teeth and plate for lubrication. |
| I use a japanese pull saw and have been known to use one with a back sometimes too! |
 |
| Take you time to keep the saw square to the cut and follow the line. You are aiming to keep the graphite on the keeper |
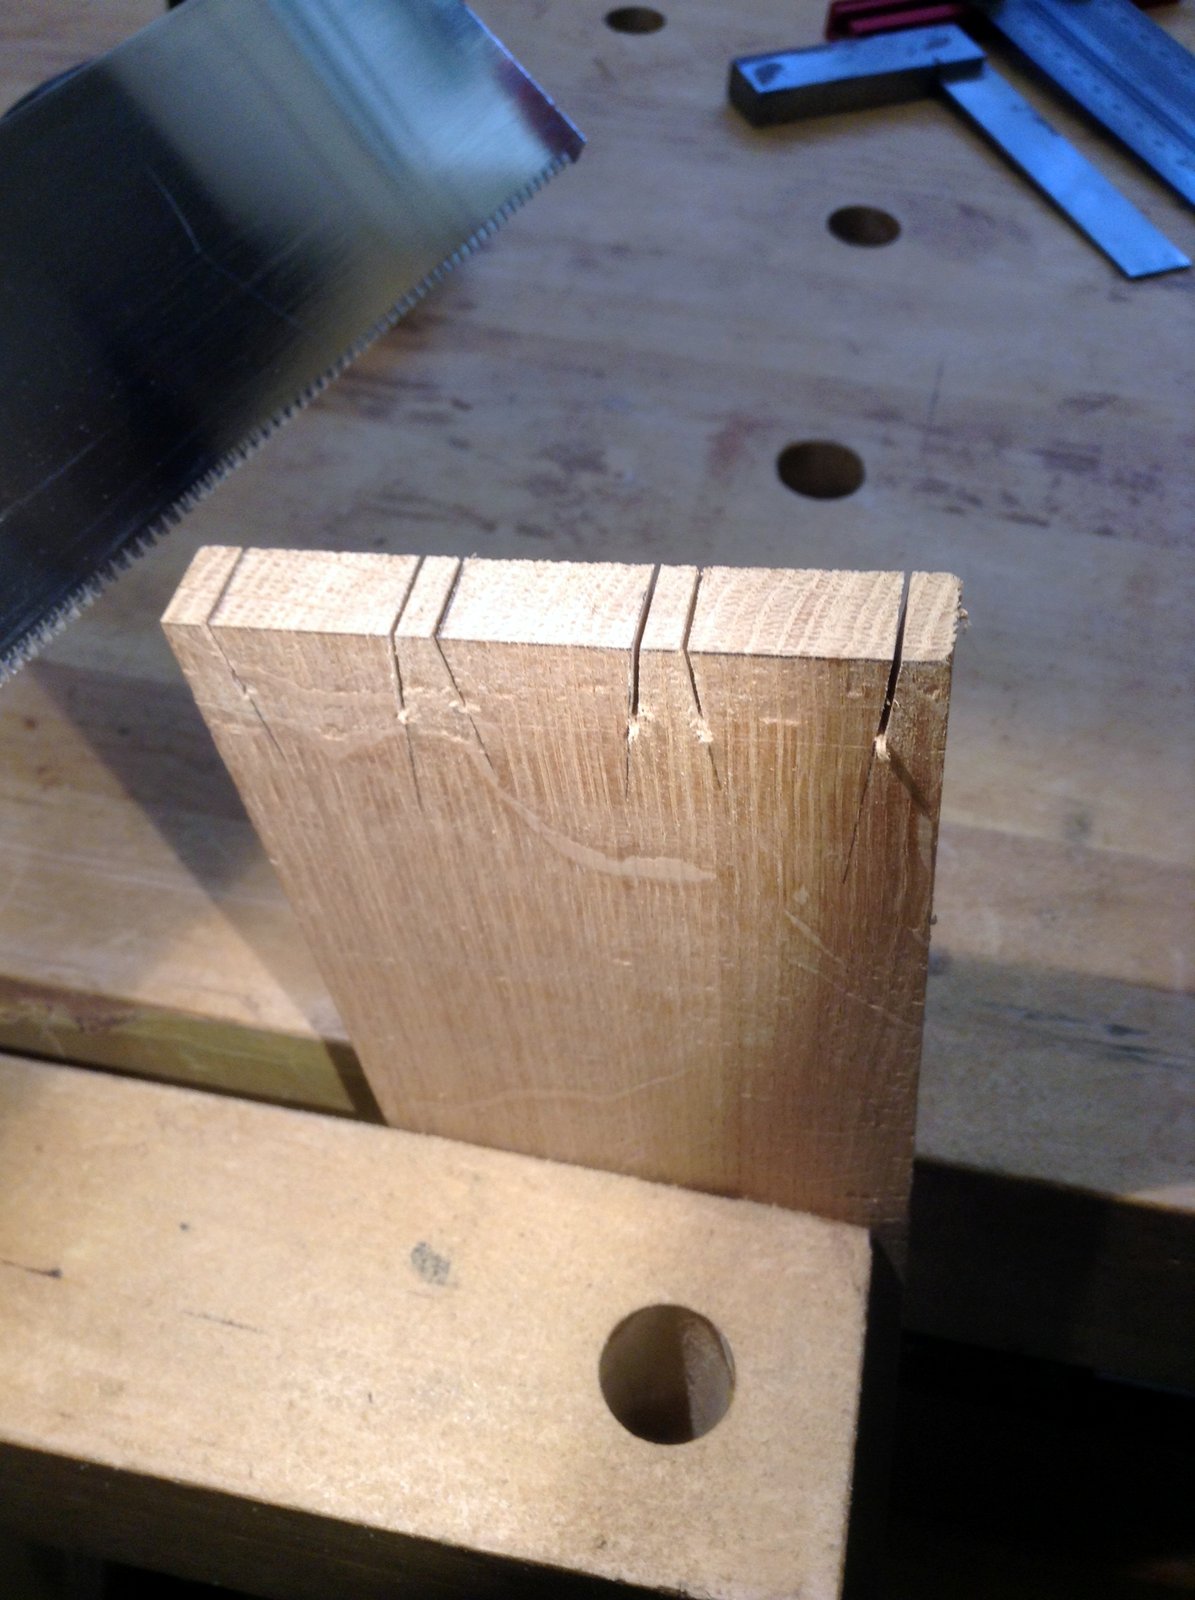 |
| Try to get as close to the baseline as you can without going beyond it. |
No comments:
Post a Comment